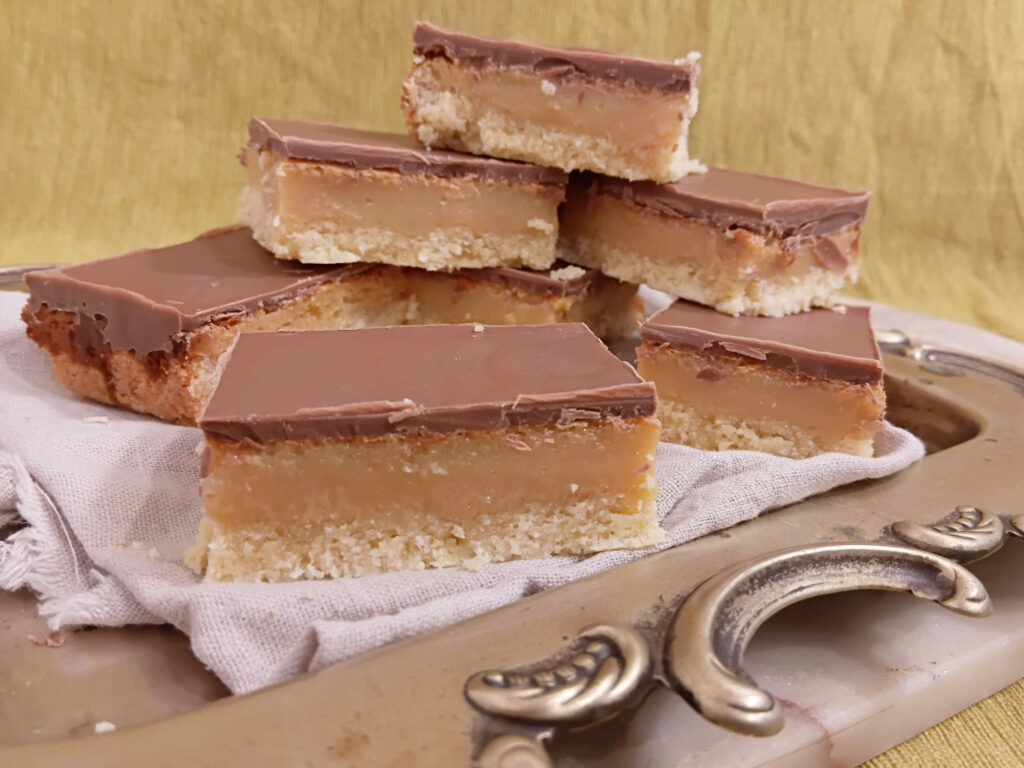
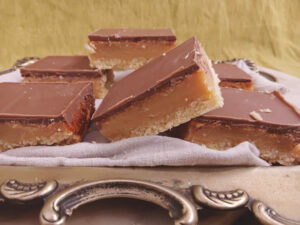
Caramel Slice
A perfect crispy biscuit base with a thick slab of caramel, all topped of with a soft milk chocolate layer on top. What could be better! Caramel slice is that decadent treat that will satisfy any sweet tooth.
Lets break down the layers
Biscuit base – This layer has all of the basics of a good biscuit base. Loads of butter for flakey-ness, sugar for a hint of sweetness, flour and baking powder for structure and rise. It also has little bit of desiccated coconut in it as well to give a bit of texture and a boost in crunch. Sometimes I like to swap out the coconut for oats if I don’t have coconut on hand.
Caramel – The best part of a caramel slice absolutely is the sweet, thick layer of caramel in the middle. So thick that when you bite into it you will leave tooth marks. This is made using a whole can of sweetened condensed milk and boosted with butter, brown sugar and golden syrup. Add a little bit of salt if you want to lean into more of a salted caramel flavour or just stick with the sticky sweetness of the caramel as is.
Chocolate – As if all of that wasn’t good enough, we then top the whole thing off with a layer of chocolate! Use either a good quality milk chocolate if you have it. Otherwise you can use regular chocolate buttons. A small amount of coconut oil is added to the chocolate to make it easier to cut so make sure not to leave it out.
How to make caramel slice
This recipe is definitely easier to make than you may think! Soooo lets get into it.
- Prepare your base. Line a 22x22cm baking tin (or similarly sized) and turn your oven on to 150 degrees fan bake.
- Mix the dry base ingredients together.
- Pour over melted butter and mix before pressing the mixture into your prepared tray.
- Make your caramel layer by melting everything together in a saucepan.
- Pour your caramel over your base and bake for 15-20 minutes
- Cool for at least 1 hour.
- Top with your melted chocolate.
- Allow the chocolate to set fully. Then chop it up and eat!
Caramel slice preparation photos
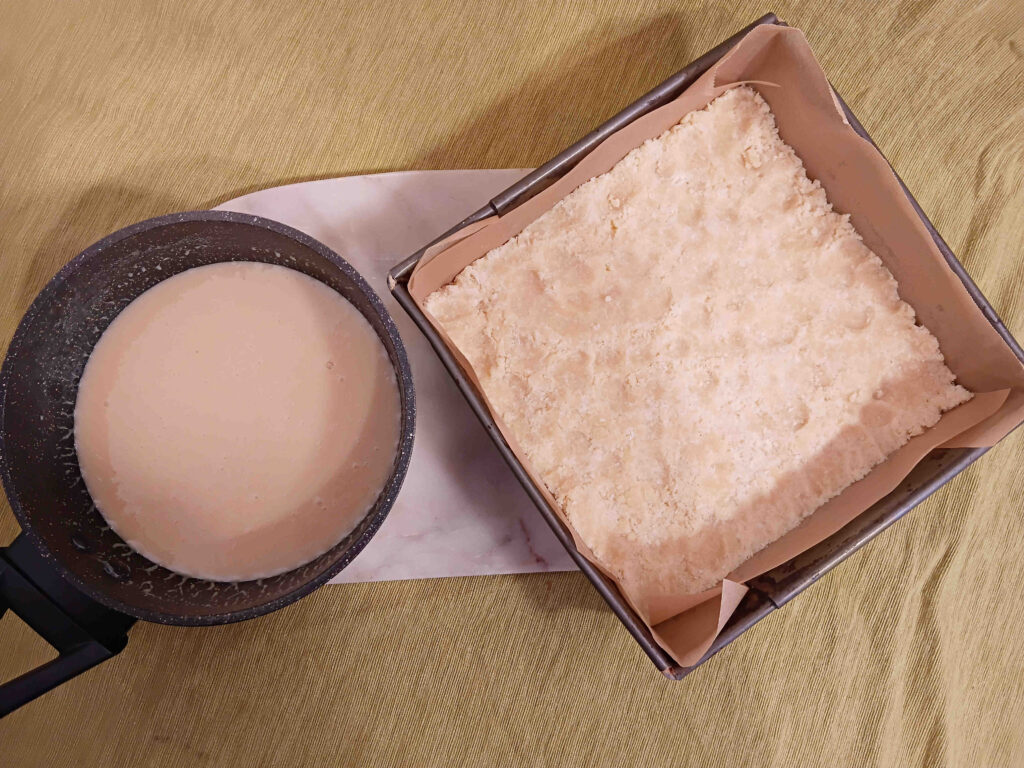
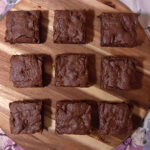
Base and caramel layer before pouring and baking.
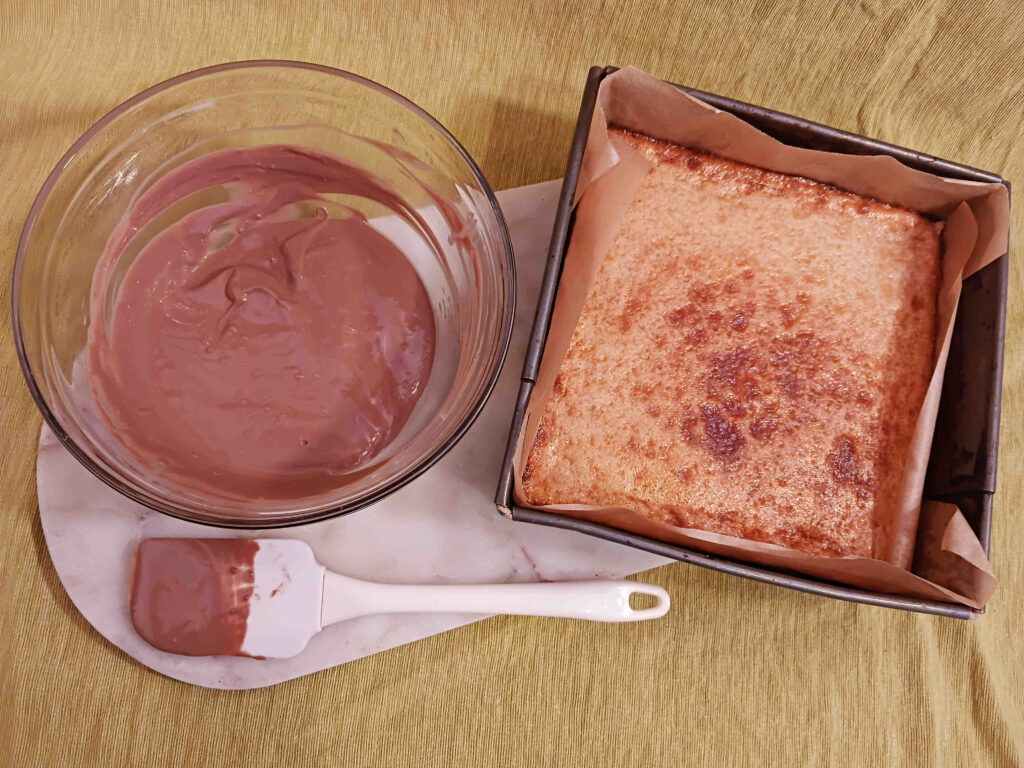
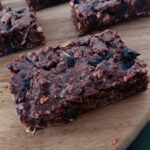
Baked caramel slice ready for chocolate topping.
Tips and tricks
- One of the great things about this recipe is that the base and the caramel are cooked together at the same time. Once you have prepared your base, do not place it in the fridge otherwise it will be too cold to cook in the same amount of time as your caramel.
- When you press your base into your slice tin do not make the surface too smooth. Dimple the surface with finger prints. This gives your caramel places to grab onto and will make your final caramel slice more stable when you slice it.
- You will know that your slice is fully baked when the caramel layer is bubbling, light brown all over and darker brown along the edges.
- You do not need to allow the slice to cool fully before adding your chocolate layer. One hour in the fridge should cool it enough but you can definitely leave it longer.
- Change it up if you like! Swap the coconut for oats. Trade out a tablespoon of flour for a tablespoon of cocoa in the base. Swap the topping for a dark or white chocolate topping. You could even leave the chocolate top off entirely and crumble over your favourite unbaked cookie dough before baking for a delicious crumble top
- To cut your caramel slice into smooth clean pieces make sure to use large a sharp knife. Wipe the knife between every cut with a hot flannel. The heat will also help your knife glide through the chocolate without breaking it.
Storaging your caramel slice
Store your caramel slice in an airtight container in the fridge. This slice is best eaten in the 2-3 days after it is made but it will store well for up to one week in the fridge.

Ingredients
Method
- Preheat oven the 150 degrees fan (170 regular) and line a small baking tray approx 22cm x 22cm with baking paper.
- In a small bowl combine all base ingredients except the butter.
- Melt the butter (120g) and pour into bowl.
- Mix quickly until well combined.
- Spoon your base into the lined tray and gently press to form a rough but even surface.
- Set aside while you make the caramel.
- In a small saucepan melt the butter for your caramel (60g).
- Add your remaining caramel ingredients. Heat on low, stirring constantly until the dugar has dissolved. Continue heating for one minute, the caramel will start to thicken slightly but it will not start to brown. Do not allow the mixture to come to the boil.
- Pour the caramel over your base and bake in the oven for 15-20 minutes. This layer will be done when the caramel is a bubbling , light brown all over with a darker caramel brown along the edges. Remove from the oven and leave to cool for at least 1 hour.
- Place the chocolate and coconut oil into a glass bowl over a small saucepan of boiling water.
- Heat on low, stirring occasionally. Keep heating until all of your chocolate is melted and smooth.
- Pour on top of the cooled slice and level out. Leave your caramel slice in a cool dry place to fully set.
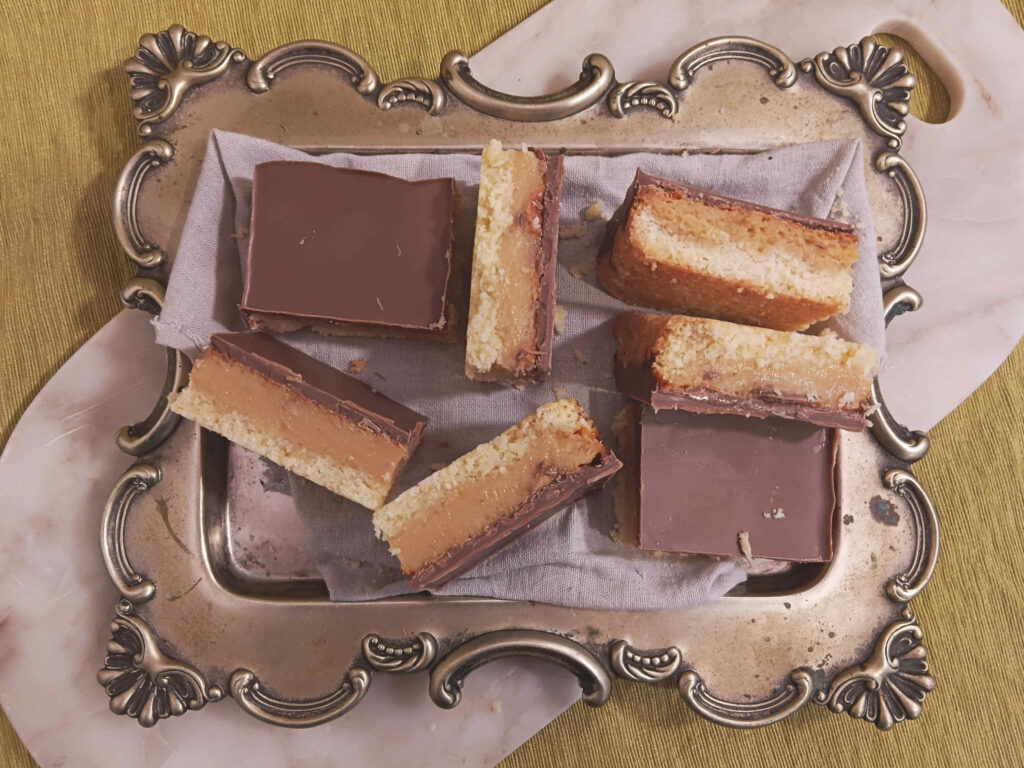
- Using a hot knife, slice your caramel slice into 12 pieces. Wipe the knife down between each slice to ensure a clean cut.
- Eat and enjoy
Thank you so much for taking the time to read through my caramel slice recipe. I hope you enjoy trying this out for yourself. Please feel free to add any questions or comments below. I am happy to help out wherever possible and I would love to hear how this recipe worked out for you.
Crystal Rose