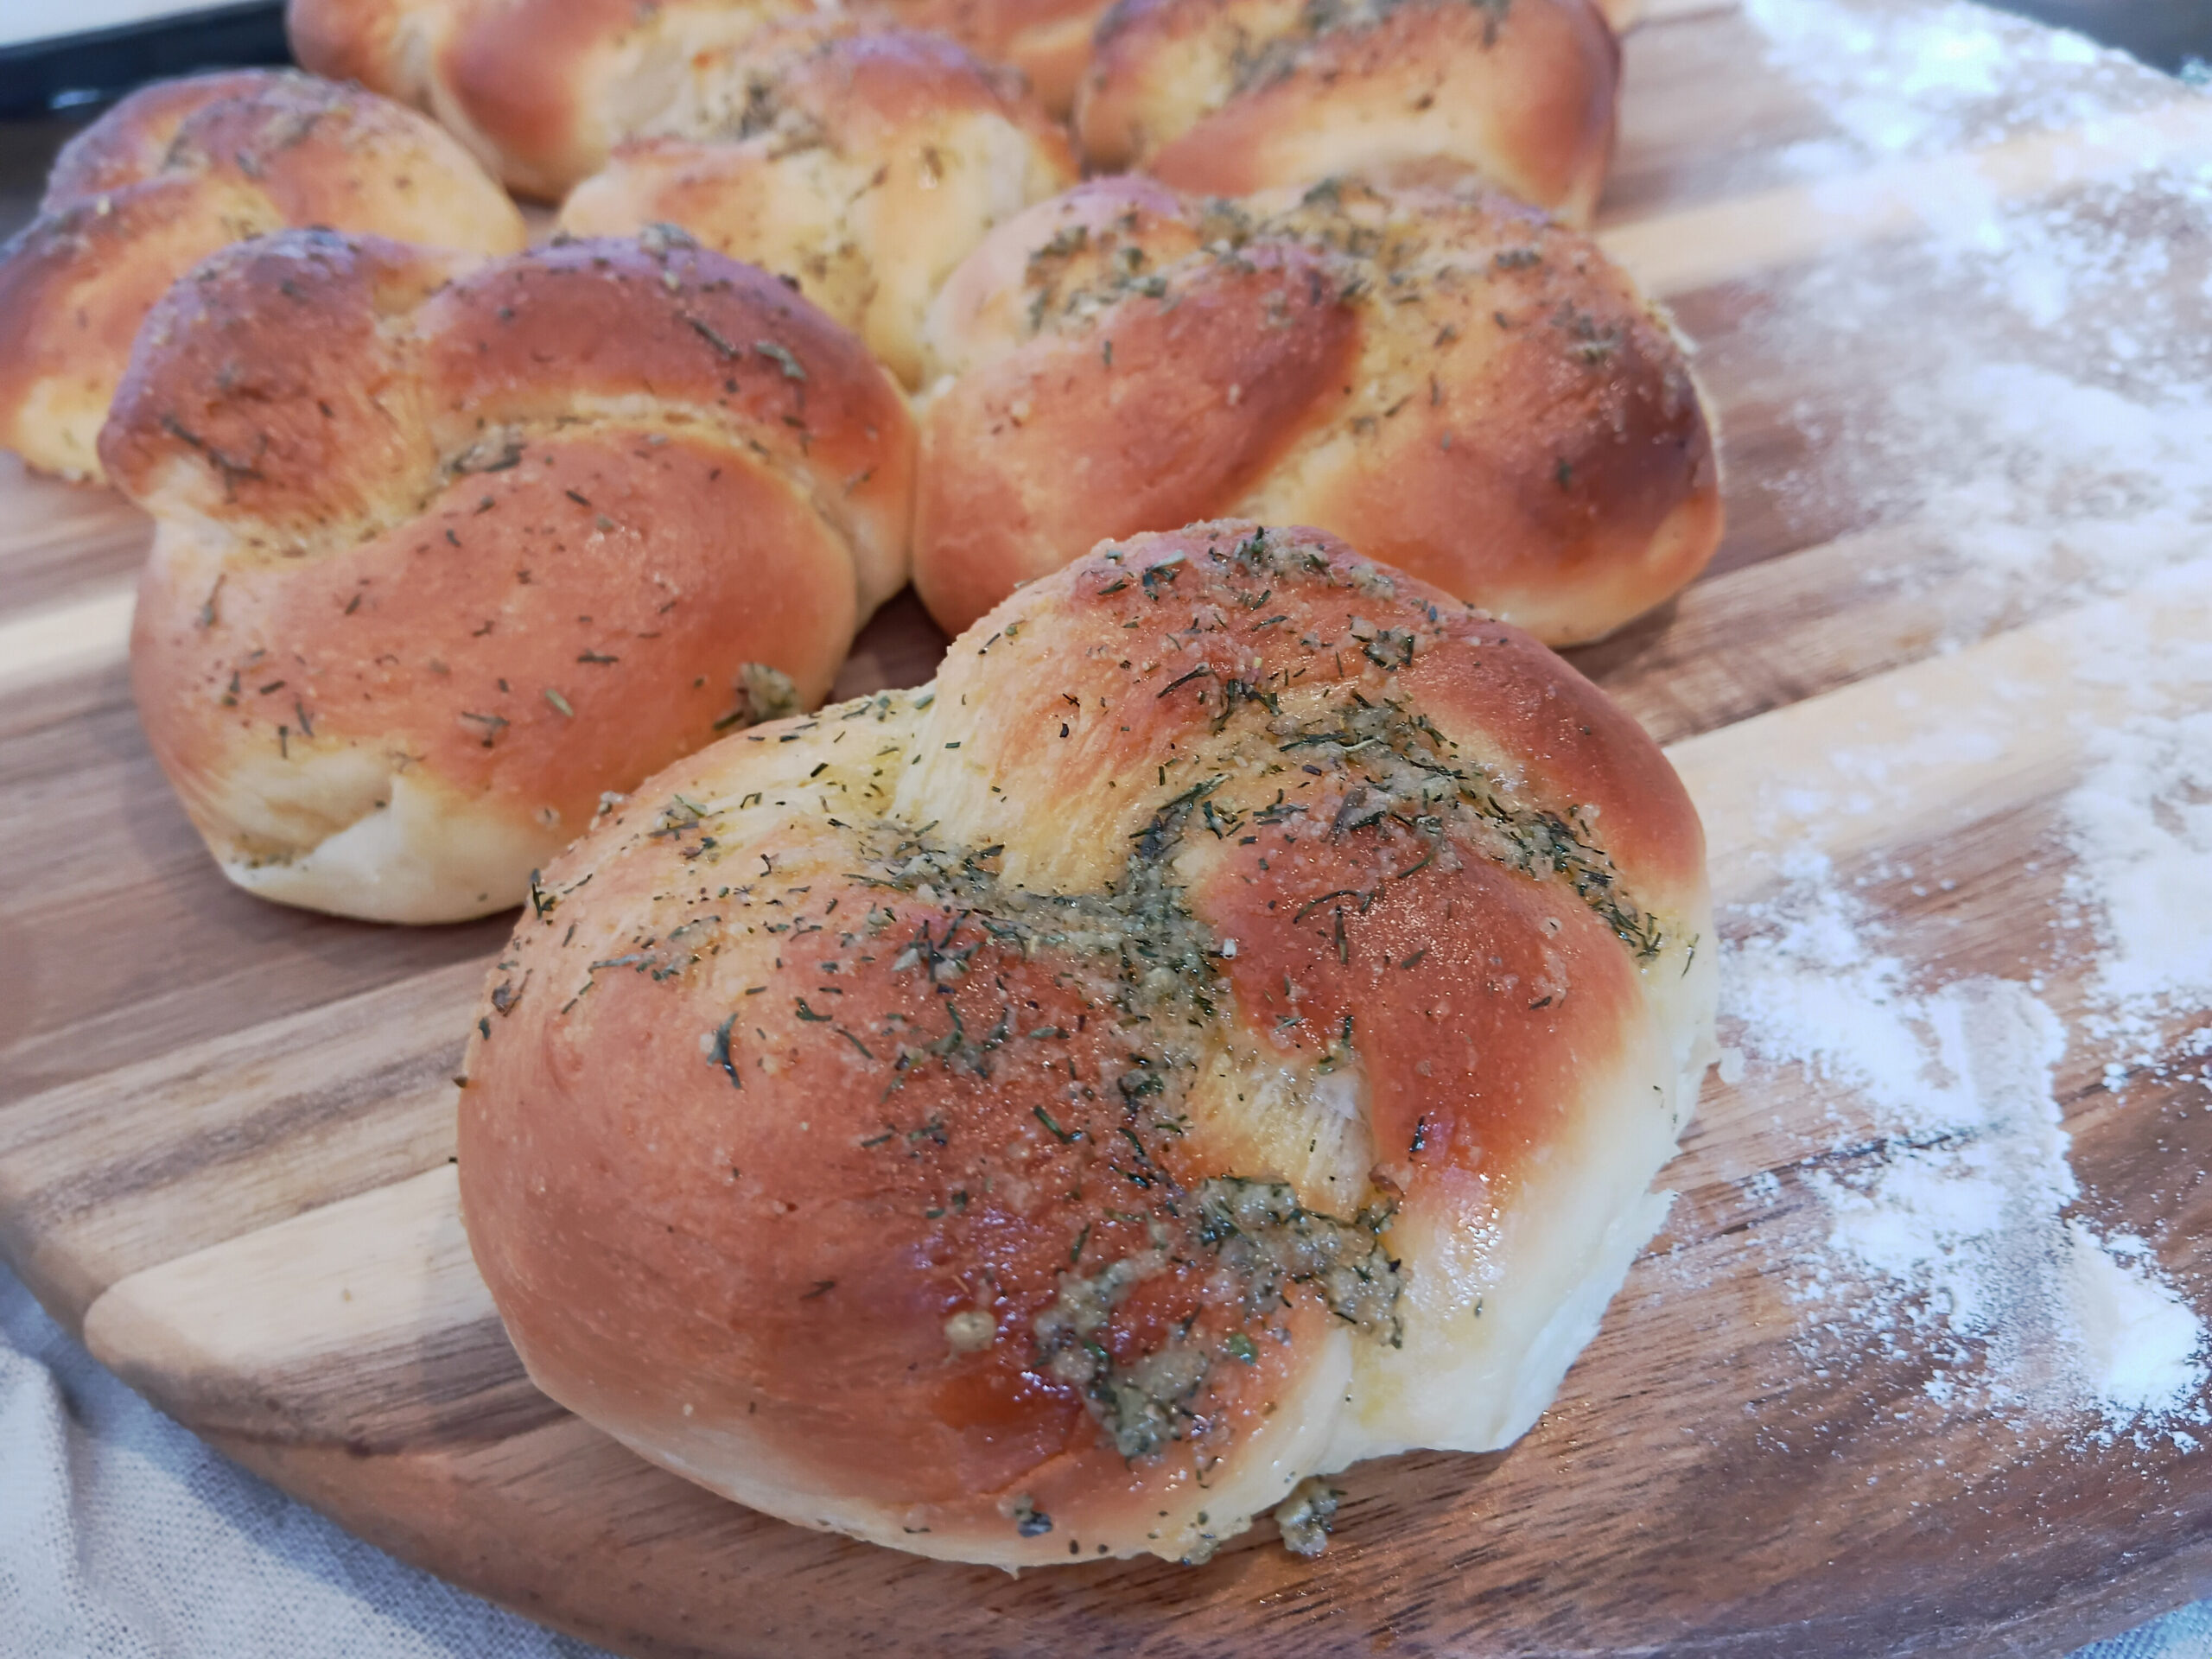
Garlic Knots
These delicious bites of fluffy garlicky goodness are hard to resist. I like to tear them apart to dip into a nice vegetable soup or have on the side of a big bowl of creamy pasta. Whatever you are making, you will not regret adding these to your dinner plate.

Garlic knots are made from a yeast based dough. Which at times can feel a bit intimidating for beginner cooks. Take your time and start these when you have a chill day ahead of you. After lunch is a good time to start preparation if you are wanting to have them for dinner as the entire process will take about 4 hours from start to finish (don’t panic though only about 30-45 minutes of that is hands on).

The process of making garlic knots can be broken down into 7 stages
Activate – Here is where you wake up the yeast. For this recipe it that will be done using the warm milk.
Combine – This is pretty self explanatory. Add all of the ingredients into your bowl in stages and mix well.
Stretch the gluten– This one is important to make your bread have the right texture and be as delicious as you are expecting. The usual way to do this is through kneading but can also be done through mixing well in the beginning stages and stretching and layering the dough between proofs
Proove – The easy part, just leave it to grow in a warm place. On a cold day it can take a bit longer than predicted but it will get there!
Shape – These can be a little confusing at first to shape into knots but it really is just a simple over and through knot. To make the shape look even better you can take the end of the dough that will be resting on the top of your knot and pull it over the side and tuck it under the knot before placing it your baking tray. I find this looks a little bit nicer but is definitely not necessary.
Bake – Pop them in a warm oven and let them do their thing. A bit of cream brushed on top of these helps keep them soft while allowing them to come out lovely and golden
Brush – This is where all of your flavour comes from use your favourite herbs and loads of garlic.
And there you have it you just made 16 delicious garlic knots! Enjoy


Ingredients and substitutions
Butter – I always use salted butter its cheaper and its what I have on hand 99% of the time. If you use unsalted then add about half a teaspoon of salt to compensate.
Sugar – I use icing sugar for these as it is much lighter and finer than regular granulated sugar. This helps keep the dough light and fluffy and it doesn’t change the taste. You can substitute this for 3 tablespoons of honey if you do not have icing sugar on hand. I have tried this in a pinch and it was very nice with the subtle hint of honey
Flour – I use regular plain white flour. If you would rather use a high grade flour then feel free to you can even mix and match with a little bit of whole meal flour if you like you may just want to add an extra tablespoon of milk to keep it soft
Garlic and herbs – Once you have tried this as a garlic knot feel free to substitute these out for whatever spices and flavoring you like. An especially nice lunch idea is to brush the knots with plain melted butter and sprinkle over cinnamon sugar.
Storage
These are best eaten fresh out of the oven but will stay fresh for 2 days in a sealed container. If you want to store for longer you can freeze them for up to 3 months.
Make now and bake later?
Place your baking tray full of prepared knots into the freezer as soon as you have formed your knots. Freeze for atleast 30 minutes before popping the frozen dough into a snaplock bag. These will last about 3 weeks in the freezer (after this the yeast will not give you a lot of rise before baking). To cook from frozen simply place your knots onto a prepared baking sheet. Allow to defrost and rise in a warm room for about 1 1/2 hours then bake as normal.
Some delicious recipes to go alongside your freshly baked garlic knots
Ingredients
Method
- In a large bowl combine the butter, milk, and yeast for the dough. Set aside for 10 minutes to allow the yeast to activate
- Add the sugar and egg to your bowl and whisk through until well combined
- Add 1 1/3 cups of the flour and the 1/3 cup of cornflour to your wet ingredients and mix together. Mix well for 1-2 minutes before stirring through the remaining cup of flour
- Turn out onto your bench top and knead for a minute or two, until it forms a smooth dough ball.
- Oil a clean bowl before placing your dough it the centre. Cover the surface of the dough with a little oil and make deep indents into the dough using your fingertips
- Set dough in a warm place to rise for 1 hour, or until doubled in size.
- Knock down the dough. place the dough on your benchtop and stretch it out wide like a pizza dough (you can also use a rolling pin for this if you prefer)
- Fold the dough into thirds lengthwise and then repeat for the width of the dough. You should now have a neatly folded chunky cube of dough. place this back into your bowl and leave it to rise for annother hour
- Knock down the dough again and split into 16 evenly sized sections
- Cover your hands in a thin layer of oil and form the dough into long sausage shapes approx 20cm long, tie the dough into a knot and tuck the bottom end under before setting onto a lined baking tray
- Repeat until all of the dough portions have been knotted
- Leave the knots to rise in a warm place for about 45 minutes or until doubled in size
- Once risen brush them well with a little cream
- Place into a cold oven and cook at 160 degrees for 25 minutes or until fully baked through
- In a small saucepan melt butter with garlic and herbs. Brush this over the buns as soon as you remove them from the oven
- Serve warm
Thank you so much for taking the time to read through my recipe for garlic knots. I hope you enjoy trying these out for yourself. Please feel free to add any questions or comments bellow, I am happy to help out wherever possible and I would love to hear how this recipe worked out for you.
Crystal Rose