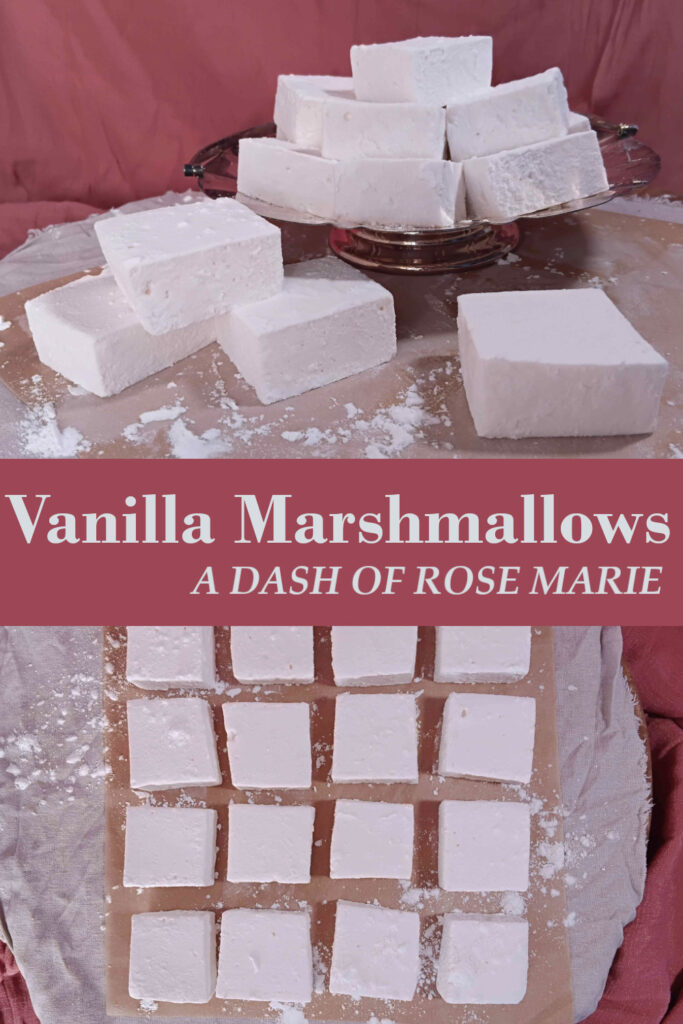
Homemade Vanilla Marshmallows
Vanilla marshmallows are like fluffy clouds of sweetness. Perfect for on their own or as an accompaniment to other delicious treats like smores or hot chocolate.
If you want to make the perfect homemade vanilla marshmallows, without corn syrup then this is the place for you!

Marshmallows may look like a complicated treat but with a little bit of time and a few tips and tricks they can be super achievable. I have shared these lemon marshmallows on the blog before. But I thought it would be a good idea to share a vanilla marshmallow base recipe as well!
What will you need to make these marshmallows
For starters you will need your ingredients these are …
Gelatin, cold water, sugar, vanilla extract or essence, cooking oil, icing sugar and cornflour
You will also need some basic kitchen equipment such as…
A small saucepan, spatula for mixing, a large mixing bowl, measuring cups, electric whisk, 22 x 22cm baking tin (or similar) and a sharp knife
Also very handy but not 100% necessary
A candy or digital thermometer
Do your vanilla marshmallows NEED corn syrup?
Most recipes for marshmallow you find will contain corn syrup or a similar substitute and that is for good reason. The corn syrup in marshmallow recipes helps stop the sugars from crystallizing and guarantee a smooth and fluffy final product.
Corn syrup is not readily available where I live and for a recipe with a light flavour such as this, I do not like using a flavoured substitute like honey or golden syrup.
This recipe uses only sugar, water and gelatin to make the marshmallow base and then is flavoured with vanilla essence to make them the perfect vanilla marshmallows. I have included tips and tricks to help you make these perfect every time even without the assistance of corn syrup!
Preparing your marshmallows

Ingredients setup.

Bloom the gelatin and heat the sugar syrup.

Pour the syrup into the gelatin in a thin steady stream, whisking continuously.

Once all of the syrup is added, add your vanilla before you continue whisking.

Whisk for about 10 minutes until the marshmallow is thick and tripled in size.

Pour the marshmallow into your prepared tray. Set, slice and coat.
How to avoid the sugar crystallizing
To combat crystallization when you are heating the sugar syrup you need to keep a close eye on the pot as it is simmering. You can tell that the crystallization is beginning in two ways.
The first and most obvious, is when the edges of the liquid begin to look cloudy or grainy.
The other is when the temperature begins to drop more that 1 or 2 degrees instead of sitting still or increasing.
When either of these things happen you will want to combat the crystallization. I usually do this by taking a silicone spatula (dipped in warm water) and running it around the outer edge of the syrup bringing it into the center and removing the spatula quickly, avoid stirring at all. If it keeps happening you can also place a lid on the pot for a minute or two. This will catch the evaporating steam and allow it to drip down the sides of the pot and dissolve the sugar that is building up. Keep this up through the cooking process and you will reach your temperature with little to no fuss.

Checking the temperature without a candy thermometer
For this recipe a candy thermometer is super helpful because of the sugar heating stage. However if you do not have one on hand then you can absolutely still make these delicious vanilla marshmallows.
To check that you have reached the correct temperature you will need a small cup filled with cold water. Use a metal teaspoon to collect and pour a few drops of the cooked sugar syrup into the cold water. The sugar should stay together in the water and be able to be picked up using your fingertips. If you can form that into a soft ball then you have reached the right temperature.
How to know if the vanilla marshmallow is whisked enough?
The first time you make marshmallow it can definitely be a bit of a guessing game as to whether or not you have actually whisked it for long enough. Here are a few things that you can check if you are not too sure.
Volume – The total volume of the marshmallow will be about 3 times the size of what it was when the sugar syrup was added.
Consistency – You can check this by dipping a clean spoon or finger into the mixture. The marshmallow will stick to every part of the surface that touches it and will create a soft domed peak that sort of flattens slightly when it is upturned. You also want the marshmallow to be pour-able but the pour will be super slow and will kind of droop out of the bowl in a heavy pulling motion.
Temperature – This is not the most accurate measurement of readiness but can easily let you know if you have mixed too long. The bowl that you are whipping the marshmallow in will be very warm in the beginning and will loose most of that heat by the end of the process. If the bowl is completely cold then you may have over mixed.

Suggestions for serving your vanilla marshmallows
Now that you have your delicious batch of homemade vanilla marshmallows it is time to serve them!
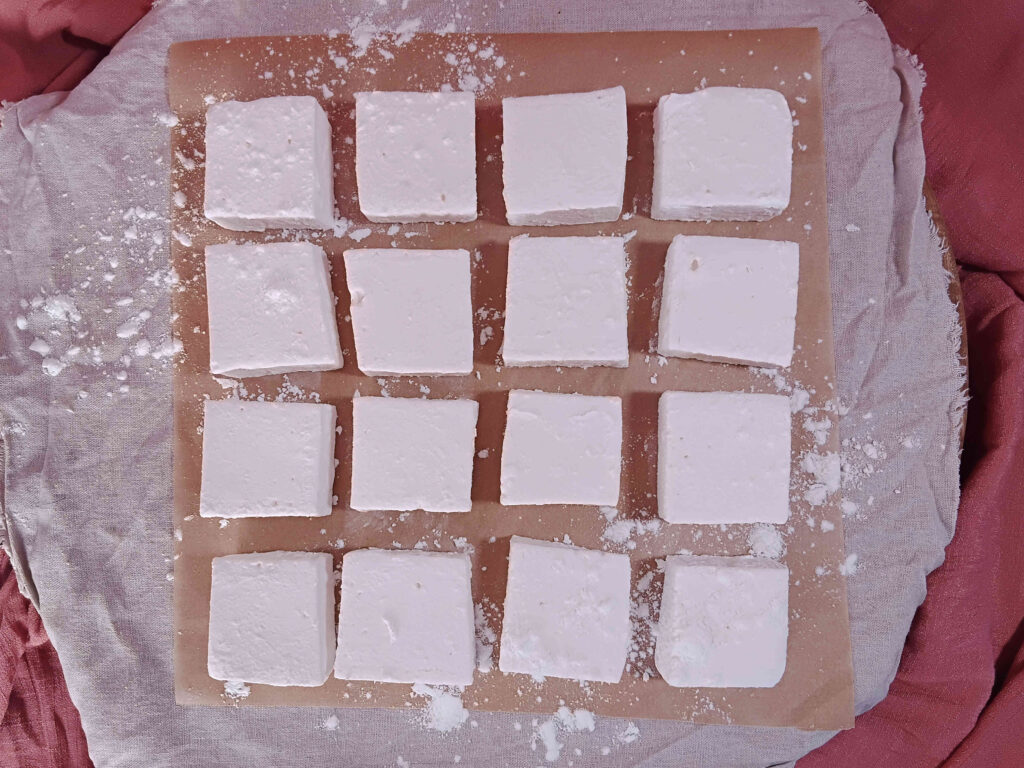
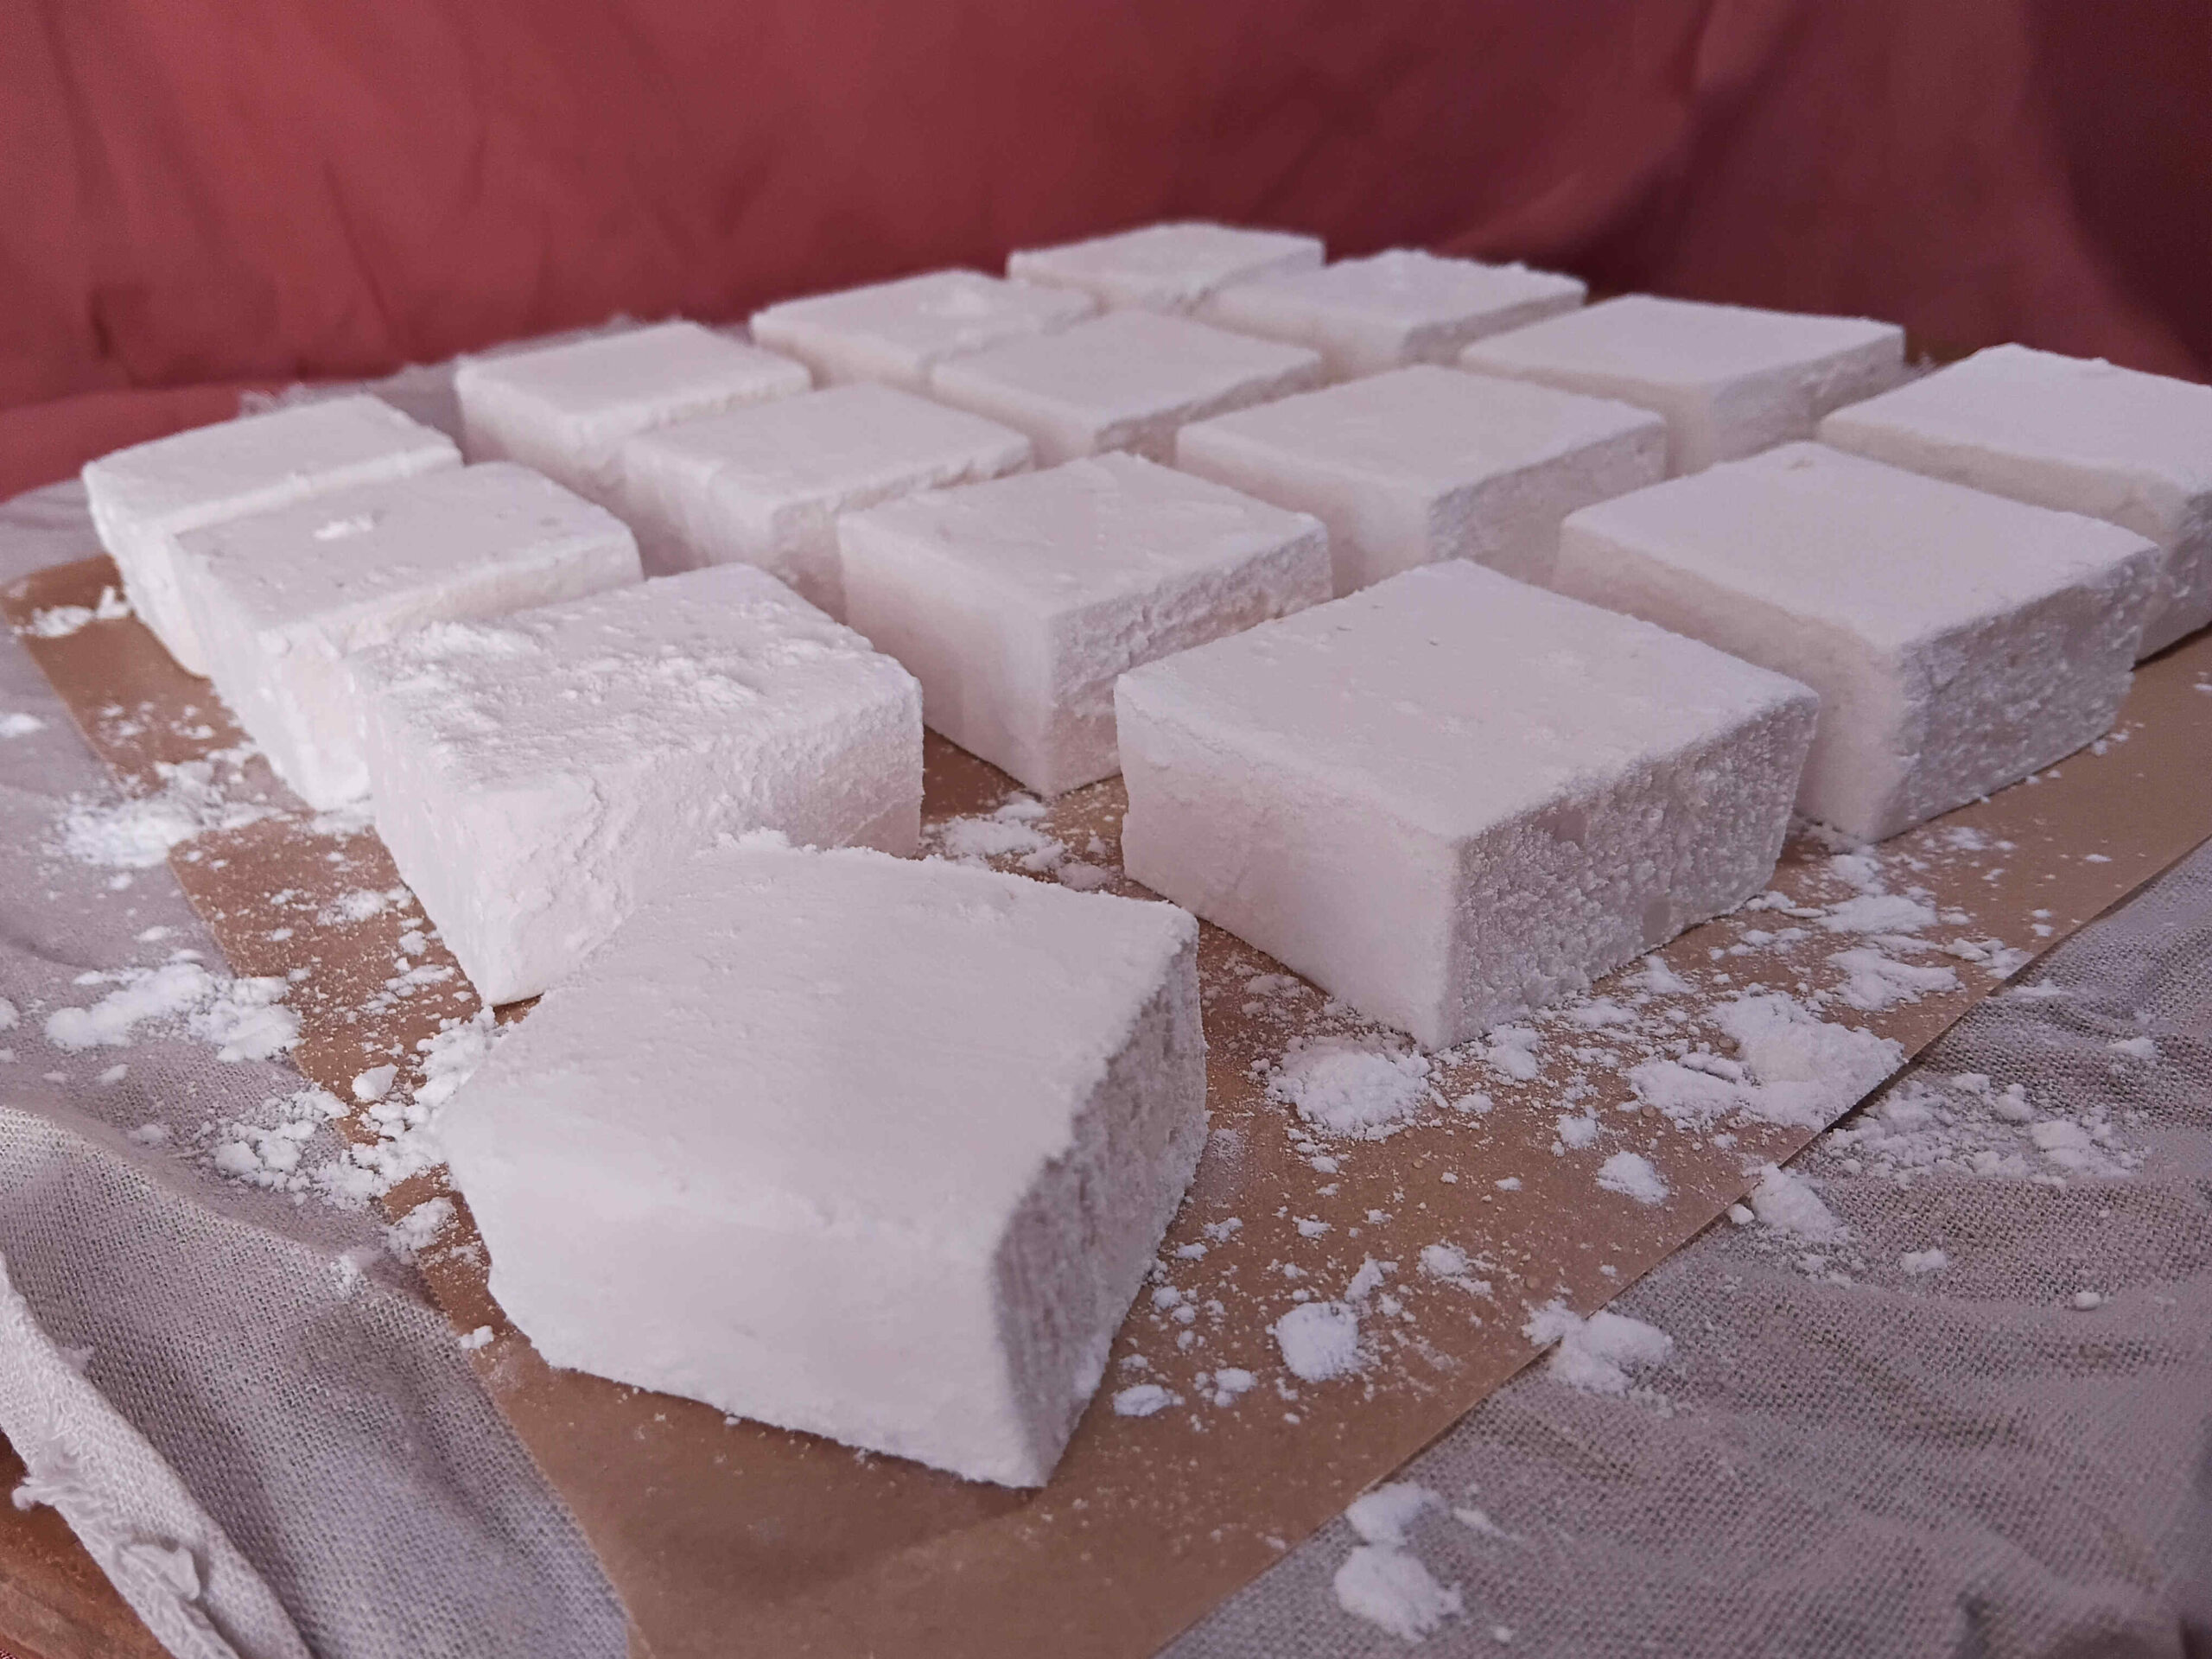
I usually like to cut mine into 16 large squares before coating them all in a mixture of icing sugar and cornflour. From there you can eat one after the other until they all disappear.
Another option is to cut them out into cute shapes. If I am doing this then I like to set my marshmallows in a larger baking tray. Once your marshmallow is set, use a deep cookie cutter that has been coated in a thin layer of cooking oil to cut out your marshmallow shapes. Coat in your icing sugar and cornflour mixture to prevent sticking.
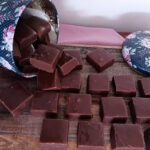
Chocolate coated marshmallows are another delicious option. Melt some chocolate in a small bowl to dunk your freshly chopped marshmallows into. Coat them fully before placing them onto a piece of baking paper to set. If you like you can top them with sprinkles for a little extra bit of fun.
Marshmallows are a great treat on their own or as a part of another treat.
You will love these marshmallows toasted and smooshed between these chocolate button cookies for tasty and cute smores. Place one of these into a freshly made hot chocolate. You can even use these to decorate the tops of cakes or pies or any other delicious dessert.
Store your vanilla marshmallows in an air tight container. Pour any remaining sugar mixture in to the container too. Store at room temperature for about 1 month (if they last that long).
Ingredients
Method
- Lightly grease and line a square baking tin with baking paper. I have used one that is approx 22 x 22 cm.
- In a large mixing bowl sprinkle the gelatin over 1/2 cup of the water. Mix together gently and set aside while you prepare the sugar.
- Place the sugar and the remaining water into a small saucepan.
- Heat the water and sugar on a medium heat, stirring constantly, until the sugar is fully dissolved.
- Continue heating, allowing the pot to simmer and then stop stirring. Keep an eye on the hot liquid and use a candy thermometer to keep track of the temperature. Continue heating the sugar syrup until it reaches 118°C ( you can test for the soft ball stage if you do not have a candy thermometer). This will take about 5-10 minutes but can be slowed down by the sugar beginning to crystallize around the edge of the pot.
- Take your prepared gelatin bowl and place it onto a folded tea towel to stop it from slipping. Set up an electric whisk ready to begin whisking. Pour the sugar syrup in a very thin stream into your bowl. Whisk constantly until all of the sugar syrup has been added. This stage should take about 3-5 minutes.
- Add in your vanilla extract or essence.
- Continue whisking on a high speed for about 10 more minutes or until you have reached a thick and fluffy consistency.
- Pour the marshmallow into your prepared baking tin. Place on a level surface and allow to set for about 5-6 hours. (you can leave it up to 1 day but I find that it starts to form a crust on top if it is left to long before being cut)
- Mix together your icing sugar and cornflour in a small bowl and coat a large, sharp knife with a thin layer of oil
- Cover the top of your marshmallow slab with sugar mixture and turn it out onto a clean, dry bench top topside down. Remove the baking pan and baking paper before coating the entire bottom of the marshmallow slab with the sugar mixture.
- Cut into 16 large marshmallows (like the ones I have made here) or 25 if you prefer. With each cut you will need to clean and re oil your knife, this part is tedious but it is necessary to avoid sticking. Dip all of the cut marshmallow sides in the sugar mixture so that they are fully coated and are no longer sticky to the touch.
Notes
Thank you so much for taking the time to read through my vanilla marshmallows recipe. I hope you enjoy trying this out for yourself. Please feel free to add any questions or comments below. I am happy to help out wherever possible and I would love to hear how this recipe worked out for you.
Crystal Rose