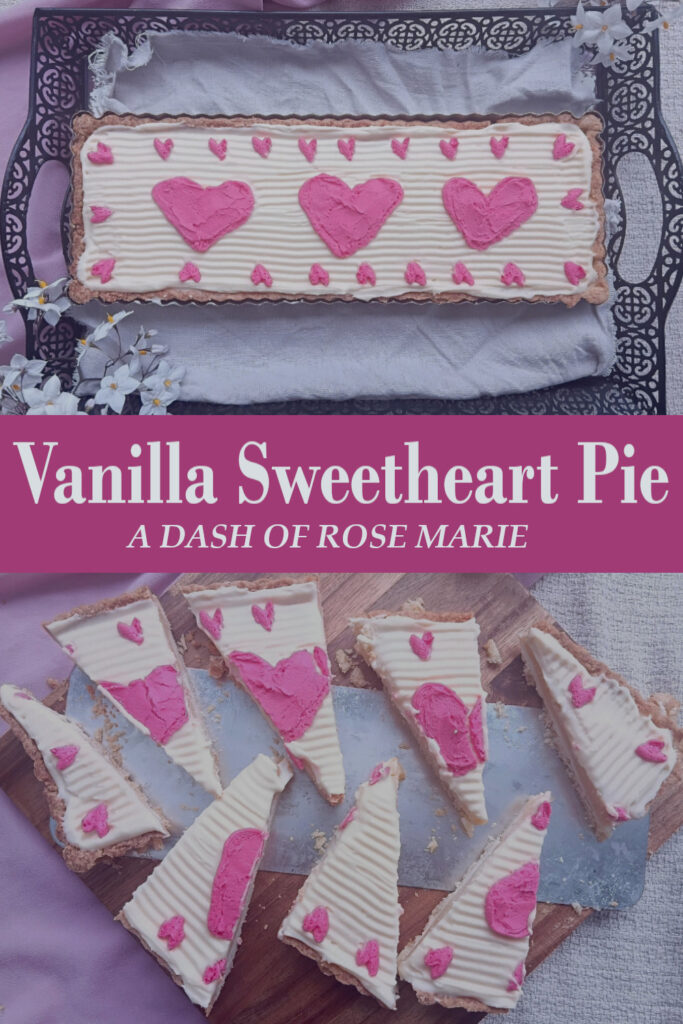
Vanilla Sweetheart Pie
White chocolate, cream cheese and a crisp pastry combine with loads of vanilla to make a pie that is truly divine!
This vanilla sweetheart pie may be a labor of love, but it is worth every small bit of effort.
This pie stands out against others for its subtle sweetness, rich vanilla flavor and beautiful simplicity.
Let this be your blank canvas. You can leave your pie as a simple white vanilla tart or decorate it with simple buttercream techniques, sweet love notes, fresh edible flowers, candies fruits. Whatever your heart desires!
This is the perfect dessert for valentines day, Christmas or any other occasion. Make your own vanilla sweetheart pie and share it with your loved ones.
Vanilla sweetheart pie layers
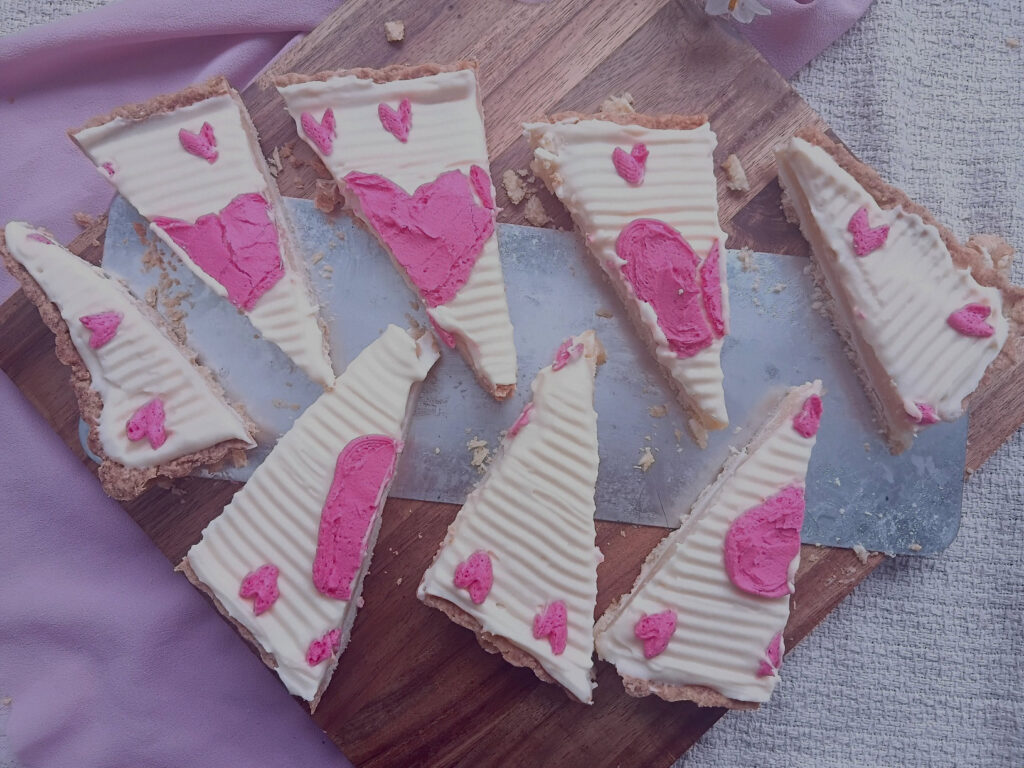
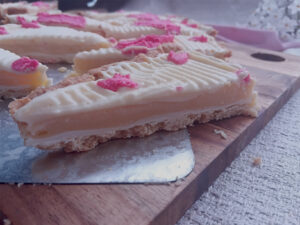
For this pie you will create four delicious layers – pastry, white chocolate, vanilla pastry cream and topping. Next you can decorate your pie however you like!
Sweet crispy pastry
Make your own pastry, use a store brought pastry or skip all of the effort and start with a pre-baked pie crust. I have used my favorite sweet and crispy pastry for this pie. You can make this a few days in advance if you like.
White chocolate base
Adding a thin layer of white chocolate helps to keep your pastry crispy and gives your pie a nice sharp bite. I melt my white chocolate with a tablespoon of coconut oil to ensure that it is smooth and whiny with very little fuss. Top tip double your chocolate ingredients and use the extra to make cute white chocolate decorations to decorate your pie with. Or use it to dip homemade cookies like my strawberry shortbread hearts.
Vanilla pastry cream
This is kind of like a thick custard that is generally used to fill pastries, eclairs, pies and tarts. You will make this in a very similar way to custard and then layer it on to your pie.
Vanilla pie topping
You will combined whipped cream cheese with vanilla extract and a white chocolate ganache and icing sugar. This will create a delicious frosting that is subtly sweet from the chocolate, a little tangy from the cream cheese and loaded with vanilla flavoring. Spread your topping over your set pastry cream and use an icing scraper (or fork) to create gentle ridges over the surface of your pie.
Simple decorating ideas
Once your vanilla sweetheart pie is complete you are free to serve it or decorate it however you like.
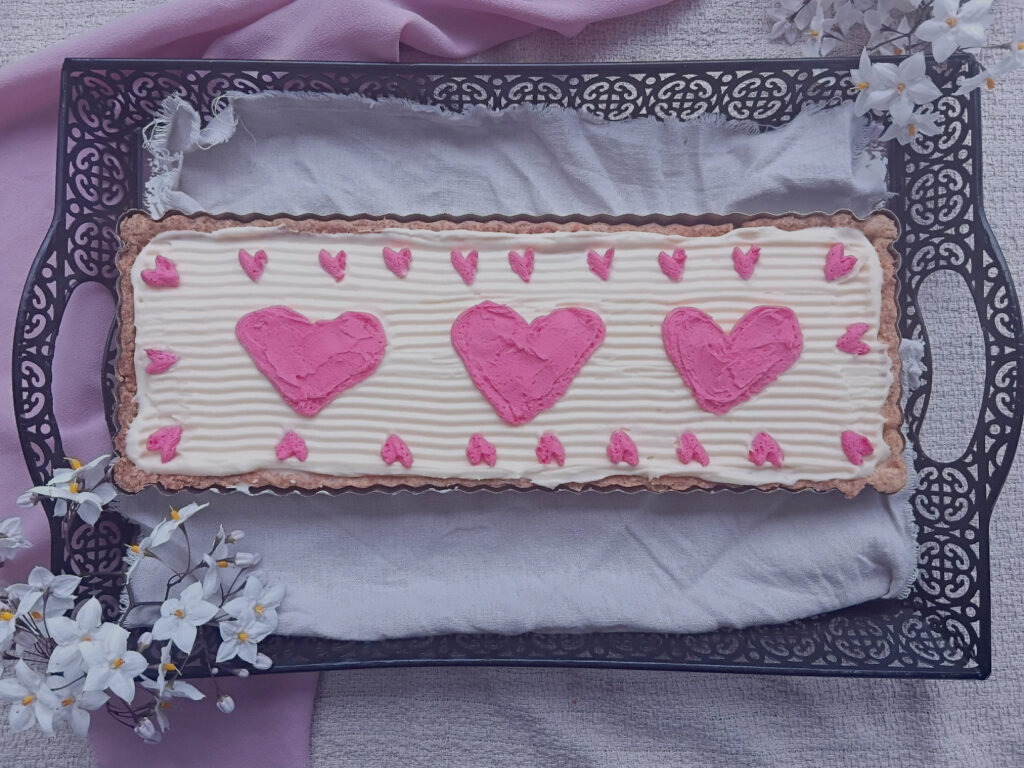
Don’t get me wrong, this pie is absolutely beautiful in its simplicity. The shades of white and cream really do layer perfectly to create a subtle, sophisticated pie.
But decorating is fun and it is what turns this vanilla pie into a vanilla sweetheart pie.
-Use buttercream to make simple piped decorations.
-Make a simple frosting to write a sweet message.
-Use chocolate shapes or your recipients favorite candies.
– Decorate with edible flowers or dried fruits.
– A sprinkle speckled edge would also look beautiful.
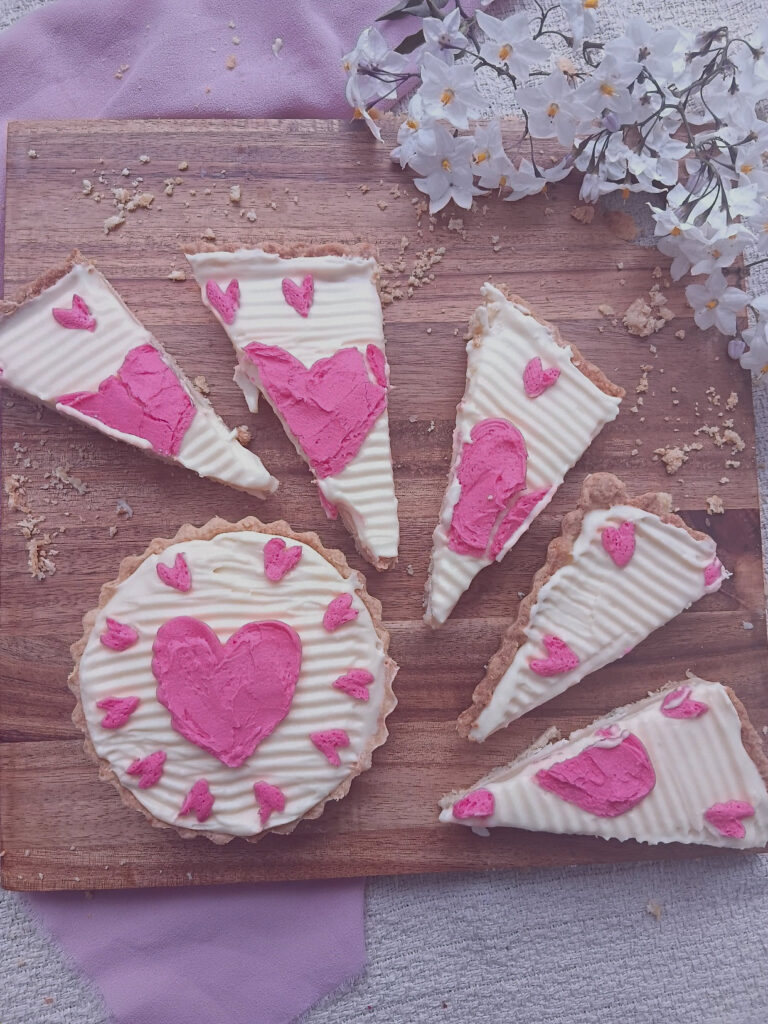
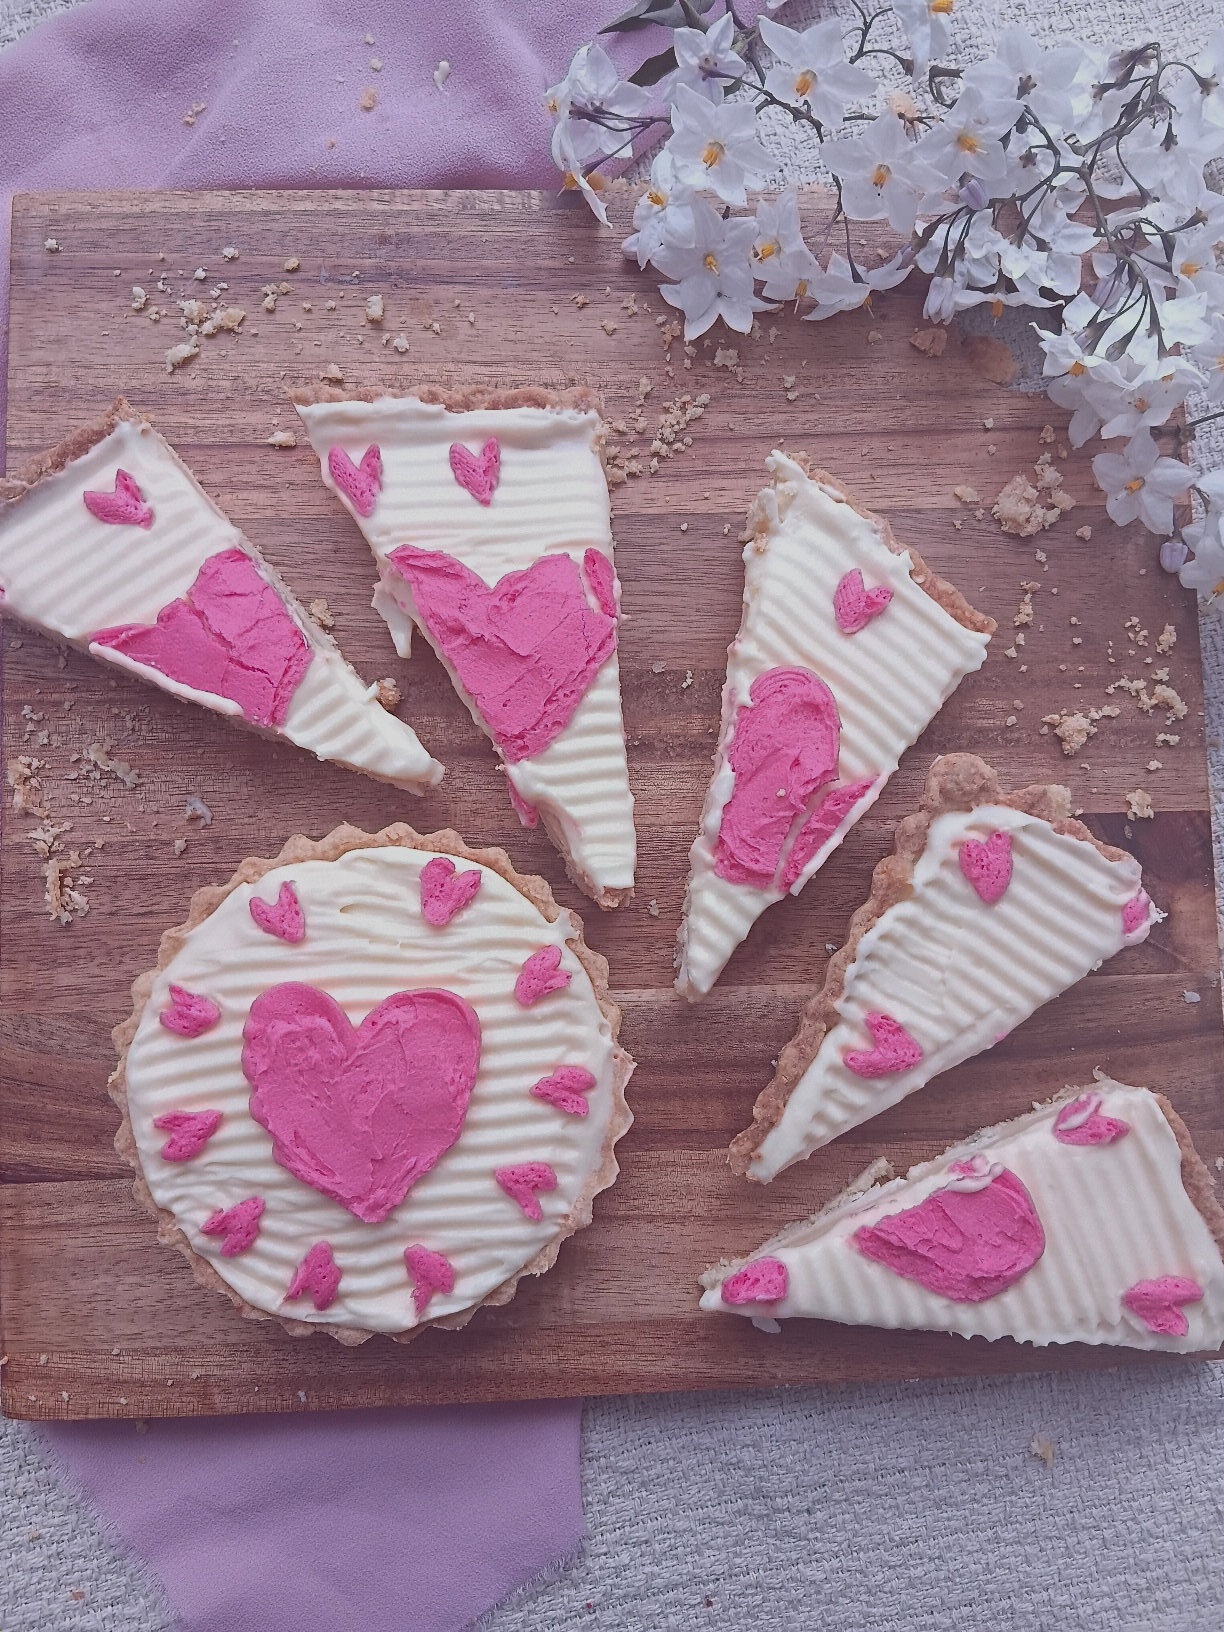
My pie is for my kids, and will be part of a valentines day family picnic. So cute, simple, pink hearts all over is the winning decorations for me today. Think about who you will share your pie with and decorate with them in mind.

Storage and making ahead
This pie will store well in the fridge for about 3 days. Cover it with cling film or place it int a sealed container. Keep your pie chilled as much as possible.
If you want to make your vanilla sweetheart pie ahead of time you can definitely start early on a few of the steps.
The pie crust and white chocolate layer can be made well in advance id you freeze the cooked crust. Once the chocolate is fully set, wrap the pie crust firmly in cling film and place in the freezer for up to 2 months.
The pastry cream can be made the day ahead. Cover your pie in clingfilm once the pastry cream has cooled and store in the fridge overnight.
Vanilla Sweetheart Pie
Ingredients
Method
- Lightly grease your pie tin with butter and preheat your oven to 160 degrees Celsius.
- In a food processor blitz the butter, flour and sugar until the mixture resembles fine breadcrumbs
- Add in the vanilla and almond essences as well as the egg yolk. Process the mixture by pulsing until everything is combined.
- Add in a little water, a tablespoon at a time, and process until the dough forms into a smooth ball.
- Place the pastry dough between two sheets of baking paper. Use a rolling pin to roll the dough out to form a large rectangle or disk that is large enough to fill your pie tin.
- Transfer your pastry to your pie tin. Gently press the pastry into the corners and edges of your pie tin. Trim any excess dough and patch any cracks if needed.
- Place a layer of baking paper over your pastry, then fill the pie with baking weights (I like to use granulated sugar for this)
- Bake for 25 minutes or until the pastry edges are golden and the dough is cooked through.
- In a small microwave safe bowl melt one tablespoon of coconut oil with your 125g of white chocolate. Microwave for 30 seconds, mix, then microwave again for 30 seconds. Let the mixture sit for a minute before stirring through again.
- Spread the melted chocolate evenly over the base of your pre-baked pie crust
- Place your pie into the fridge to allow the chocolate to set
- Combine the sugar and cornflour in a small sauce pan before adding in the eggs and whisking thoroughly.
- Add in the milk and vanilla before whisking well to combine.
- Turn your heat on low,. slowly heat the mixture while stirring constantly. Continue to heat until the mixture has thickened fully
- Remove the saucepan from the heat and allow the mixture to cool slightly
- Sieve the pastry cream onto a small bowl and allow it to cool slightly.
- Spread your slightly cooled pastry cream evenly over the prepared pie base. Return your pie to the fridge to cool and set fully
- In a medium sized bowl, place the cream cheese and vanilla
- Use an electric beater to whisk the cream cheese and vanilla until smooth
- Place the cream into a small microwave safe container. Microwave the cream for 40 seconds then add your white chocolate into the hot cream. Leave this to sit for a minute, then stir the chocolate through the cream until it is completely smooth.
- Pour the melted chocolate slowly into your cream cheese and whisk through until smooth.
- Add in the icing sugar and whisk well for about a minute. The mixture should be thick and light but spreadable.
- Spoon the mixture evenly on top of your pie filling. Use a pallet knife or spatula to spread it out smoothly. Use an icing scraper or fork to indent the toppings surface if you like. Return to the fridge for at least 30 minutes to allow the topping to firm a little before decorating and serving
- You can decorate the top of your pie with some butter cream or frosting once the topping has been chilled.
- Remove the pie from the pie tin, slice and serve.
- Store your pie covered and in the fridge for up to 3 days.
Notes
Thank you so much for taking the time to read through my vanilla sweetheart pie recipe. I hope you enjoy trying this out for yourself. Please feel free to add any questions or comments below. I am happy to help out wherever possible and I would love to hear how this recipe worked out for you.