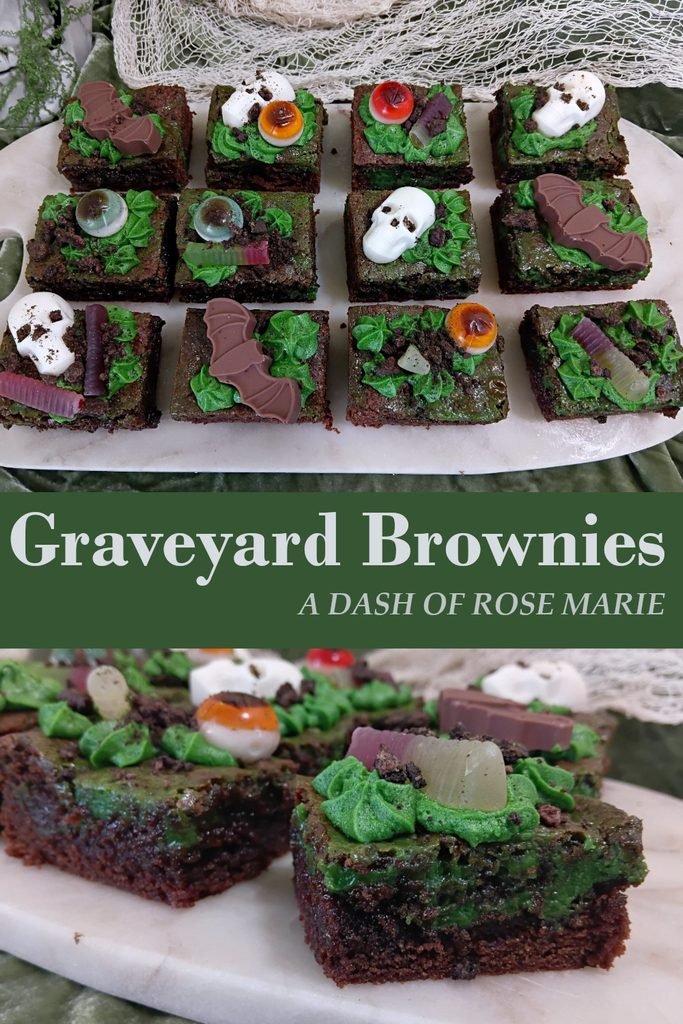
Graveyard Brownies
With all of the goodness of soft fudgy brownies, loaded with thick layers of gooey caramel and decorated to Halloween perfection. For a spooky twist on caramel swirl brownies, you cannot beat these delicious graveyard brownies.
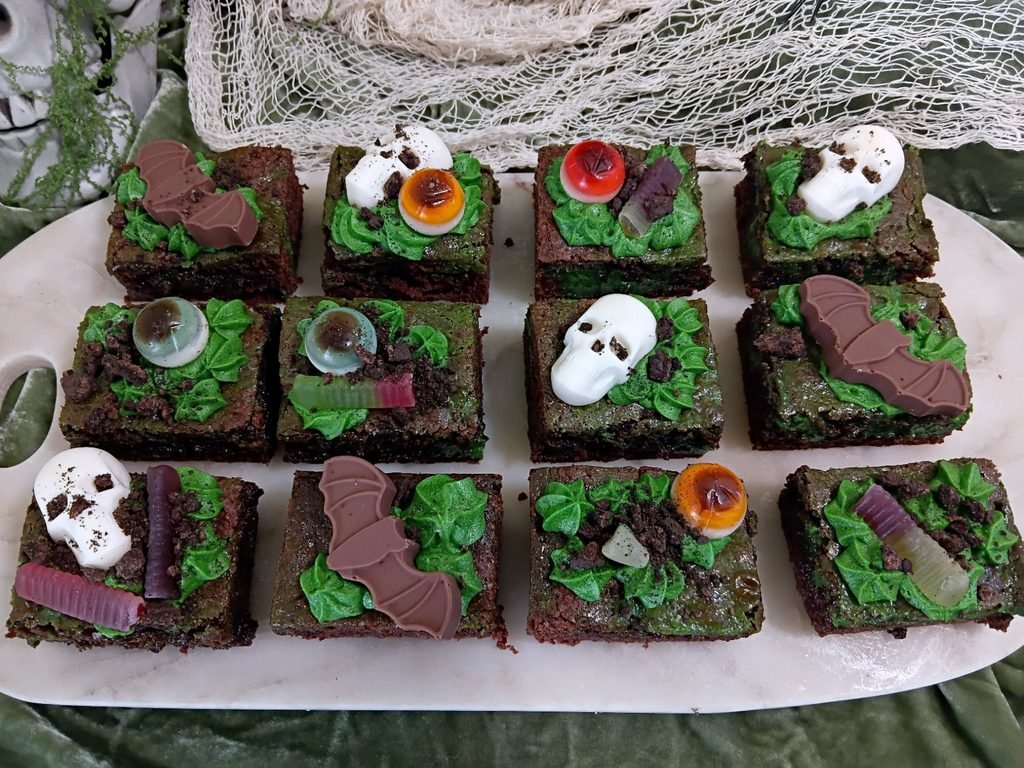
The perfect Halloween brownies.
October means baking loads of Halloween themed goodies in our house and these graveyard brownies are one of our favorites. A simple but delicious, fudgy brownie is generously swirled with green colored caramel. Absolutely delicious and decadent on its own but it is taken to the next level with creepy Halloween themed decorations! The brownie base for this recipe comes from my budget friendly chocolate brownies recipe and the caramel is the same as you will find in my caramel slice recipe. Serve your graveyard brownies with these spooky mint chocolate graveyard milkshakes or some cute ghost donuts for even more Halloween goodness.
Decorating your graveyard brownies
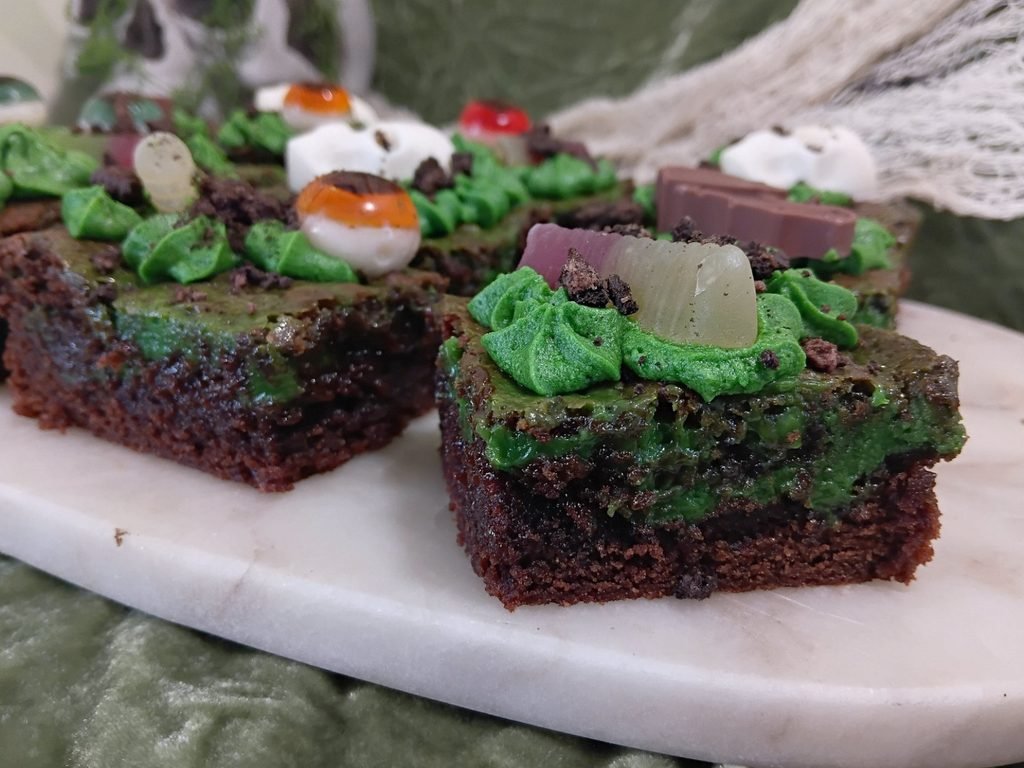
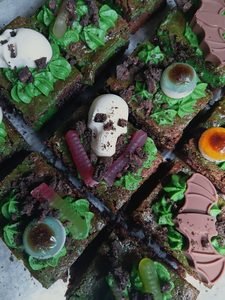
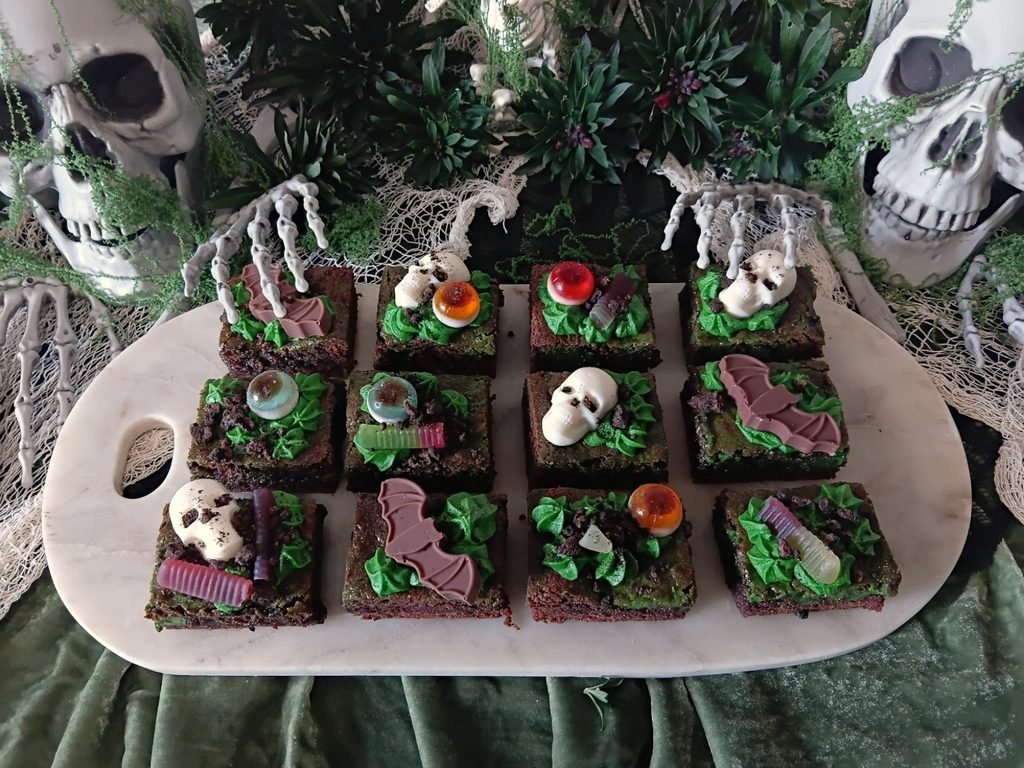
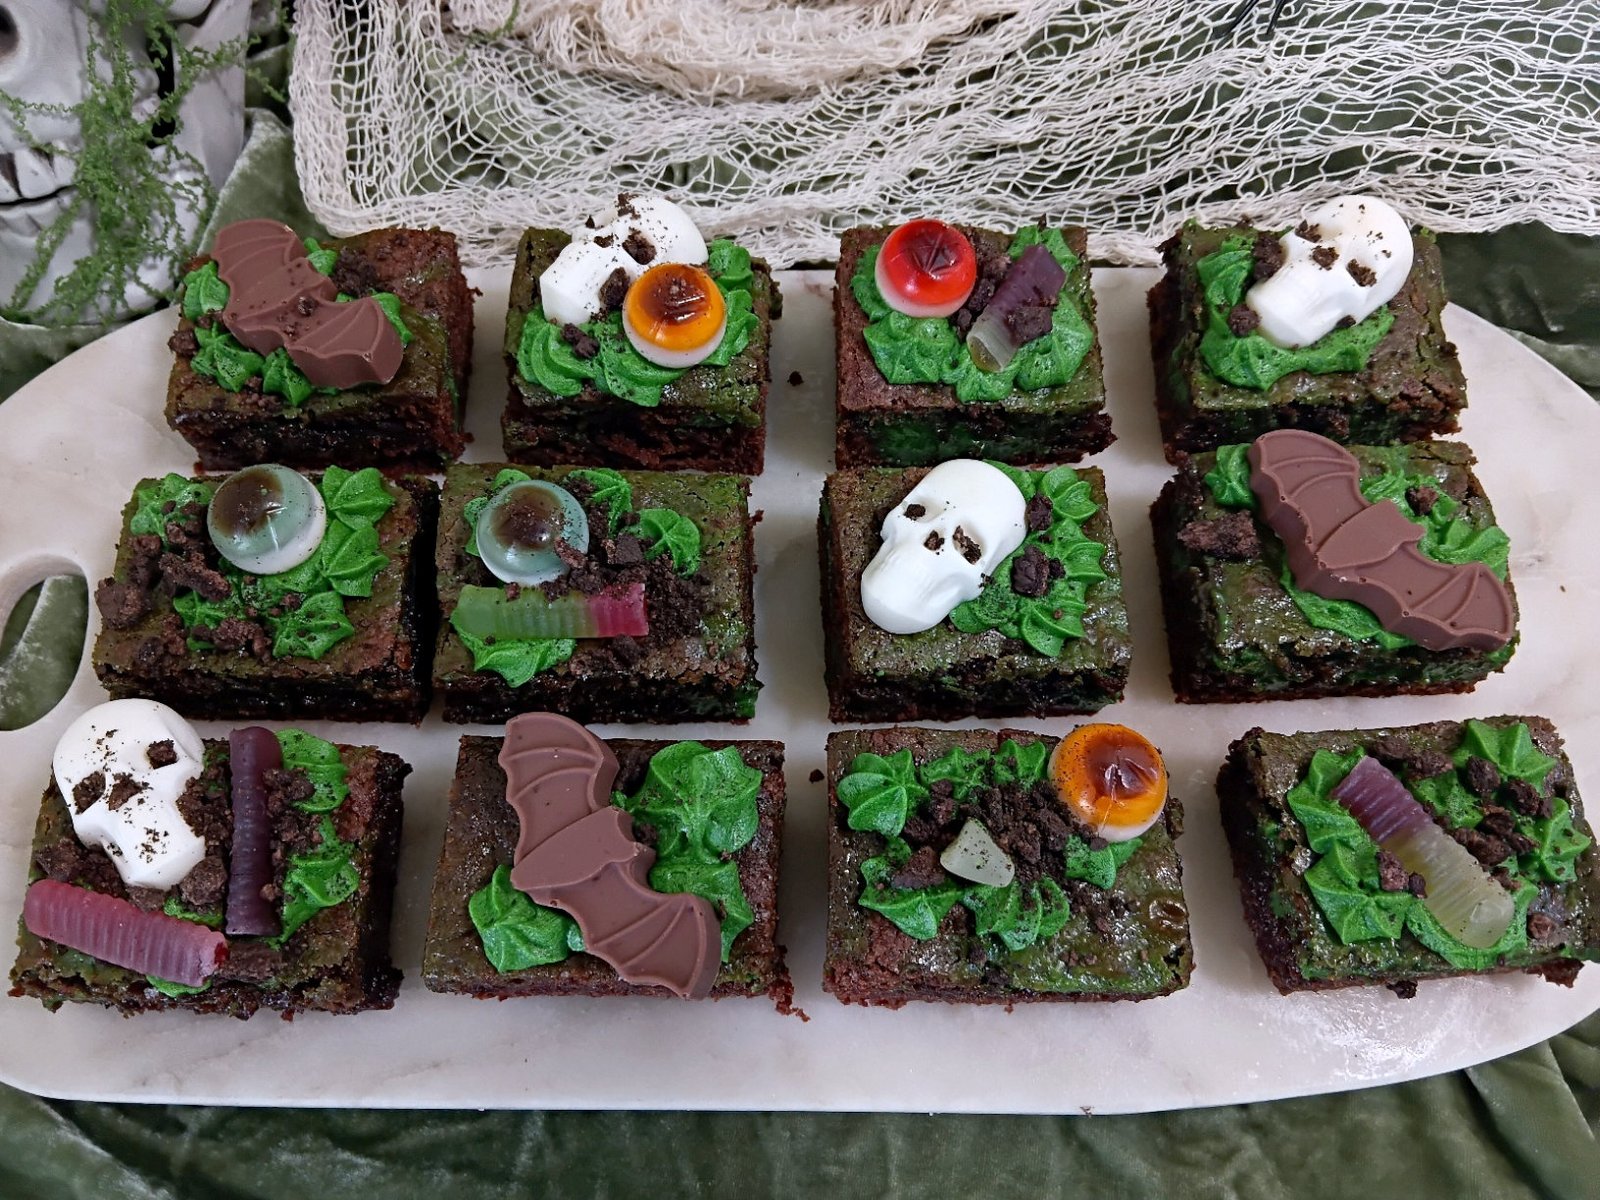
Start with a grassy green buttercream or frosting. For this recipe I used 50g butter 3/4 cup of icing sugar and 2 tablespoons of milk. To create the grassy green color I also added in 1 teaspoon of cocoa powder and 1 1/2 teaspoons of green food coloring. Pipe your buttercream randomly over your cut brownie squares. You want it to look like patchy overgrown grass on a swampy green/brown dirt base.
Decorations. Use whatever spooky graveyard decorations that you can find. I have used gummy eyeballs, Gummy snakes and some chocolates. The white chocolate skulls were made using the leftover chocolate from coating these adorable shortbread bone cookies! Have at least one decoration per piece of brownie.
The finishing touches. Crush up a couple of Oreo biscuits to create a little bit of grave dirt. Add a little sprinkle over every piece for a great dirt effect.
Some other topping ideas. There are many other ways to decorate these spooky graveyard brownies!. You could use Halloween themed sprinkles, make some cute little marshmallow ghosts, or some mini tombstones cookies. You could even color the caramel red instead of green and make a vampire themed brownie with white chocolate fangs and bats.
Tips and tricks
- Bake your brownies in a large metal tin. Brownies cook best in metal bakeware. You will want to use a tin that is about 35x20cm.
- When cutting your brownies you can either trim the edges off or leave them on. I like to trim them off as most people that we know prefer center pieces and because I like to see more of the gooey caramel layers inside the brownie. Leave the edges on for a crispier, chewier option if that’s what you prefer.
- This recipe makes 18 brownies, Perfect for a crowd or to have as snacks for the week. If this is too many for your household, you can halve the recipe and bake your brownies in a smaller tin instead.
- Save your slicing and decorating for the last minute. The brownie can dry out a little bit if the edges are exposed to the air for too long. When making this recipe for a party I like to bake the brownies the day before then slice and decorate about an hour before guests arrive.
- Wrap any leftover brownies in clingfilm and store in a cool dry place for up to 3 days or in the fridge for up to 1 week.
Graveyard Brownies
Ingredients
Method
- Preheat your oven to 170 degrees celsius, fan bake.
- Lightly grease and line a large metal baking tray with baking paper approx 35x 20cm will be a good size.
- In a large sized bowl mix together sugar and sieved cocoa powder before mixing through the oil.
- Add your eggs and mix very well. The mixture will be thick and slimy.
- Add in the flour, baking powder and cream. Gently fold the mixture until everything has just combined.
- Pour the brownie base into your lined tray. Gently spread it out evenly using a flat spatula or back of a spoon. Set aside while you prepare the caramel.
- In a small saucepan melt your butter.
- Add the tin of sweetened condensed milk, brown sugar and golden syrup. Heat on low, stirring constantly, for one minute or until it is warmed through. Do not allow the mixture to come to the boil.
- Remove your caramel from the heat and mix through your green food coloring.
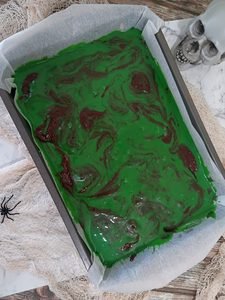
- Use the handle of a spoon to make deep swirls all over your brownie base. Next pour over your caramel mixture then repeat the swirling process again. Make sure that you do not over swirl the two layers. You want the caramel and brownie to be evenly swirled but still recognizable as two separate colors.
- Bake in your preheated oven for 25 minutes. Your brownie will be done when the edges are golden and the center is firm and not jiggly
- Cool fully before slicing and decorating.
- Trim the edges of your brownie if you like before slicing them into 18 evenly sized pieces.
- You can serve your graveyard brownies as is or you can decorate them.
- To decorate. First pipe on some green buttercream or frosting, keep the piping random but add a small amount to every slice. Next add a decoration (gummy worm, eye or chocolate skull) to each piece. Finally sprinkle over some crushed Oreos to resemble dirt.
Notes
Thank you so much for taking the time to read through my graveyard brownies recipe. I hope you enjoy trying this out for yourself. Please feel free to add any questions or comments below. I am happy to help out wherever possible and I would love to hear how this recipe worked out for you.