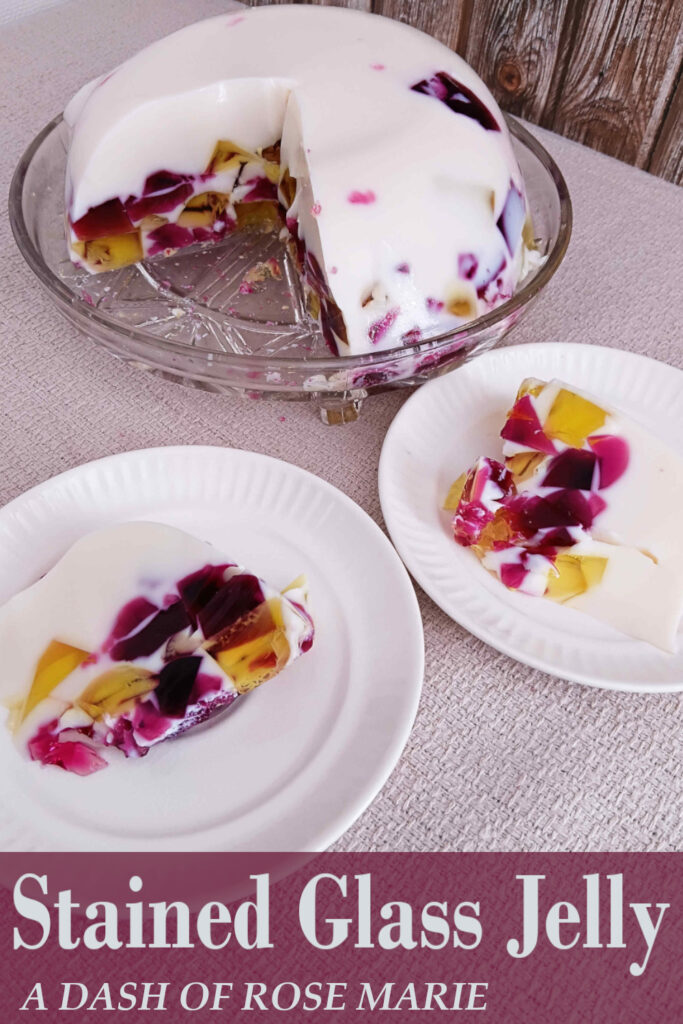
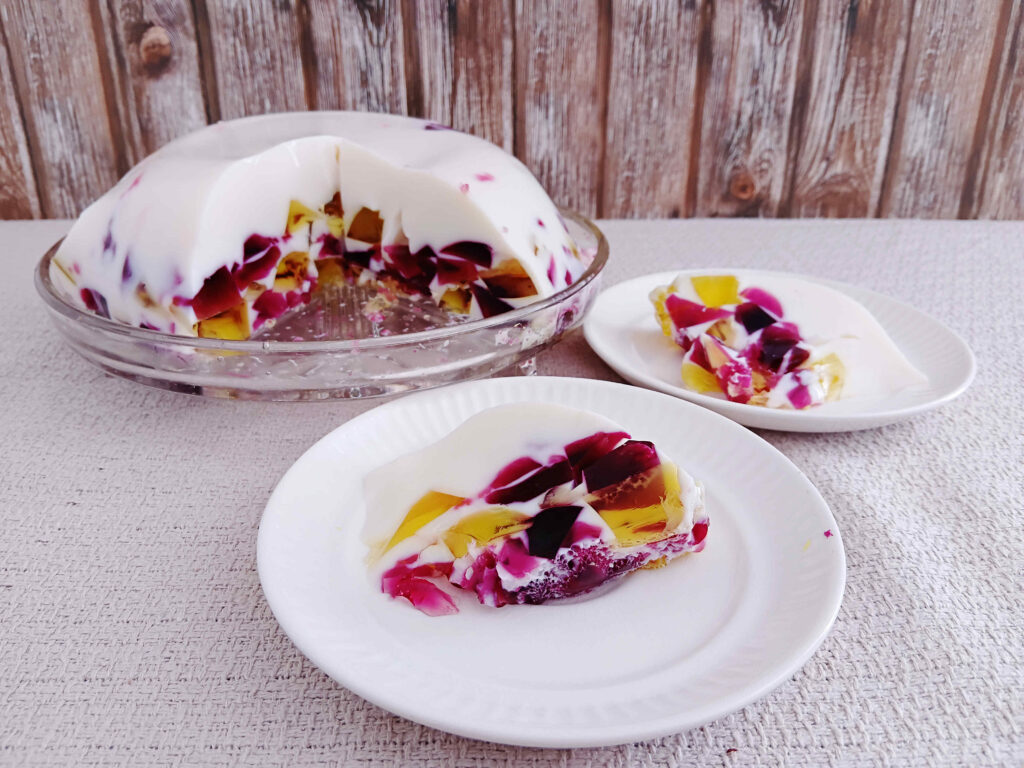
Stained Glass Jelly
This dessert is such a fun and colourful treat. Vibrant colours, scattered through a white backdrop make this stained glass jelly both beautiful as well as delicious.

Why you will love this recipe
- Kids will love this dessert – You can get them involved in many of the steps. They will love the safety of familiar flavours and colours. Its always fun to slice through the set jelly and seeing it speckled with the beautiful colours that they have chosen.
- It is super simple – Most of the steps in this recipe are simply mixing and waiting. This recipe is easy enough for a beginner in the kitchen.
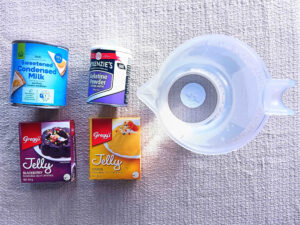
- Only 4 ingredients – Other that water all you will need is 2 packets of flavoured jelly, gelatin and a can of sweetened condensed milk.
- You can customize this to work for you – Pick whatever colours that you like. If you want more colour then you can add another box of jelly. You can make this in a shaped jello mould or make individual servings in cups. Swap our the gelatin for agar agar for a vegetarian version. Whatever works for you works with this recipe.
Colour fun with stained glass jelly
We love to use this recipe to make desserts for all sorts of occasions. Here are some ideas to help you match your jelly to your occasion.
Christmas – green and red
Halloween – purple and orange
Baby shower / gender reveal – pink and blue
Easter – pink, yellow and blue
4th July – red and blue
Valentines day – red and pink
If you want your jelly to have 3 colours instead of the recommended 2 then all you need to do is prepare and dice a third packet of jelly in the same way that you did for the other 2. When your stained glass jelly is set there will simply be a higher ratio of colour to white jelly.
Tip – Add a few drops of food coloring to your jelly to tweak the colours to match your party / theme
Making ahead and storage
I one hundred percent recommend making this stained glass jelly the day before you need to serve it. Not only because it makes party prep on the day easier but because the setting times for the jellies can be much more relaxed. You can take your time letting the jellies set fully and have the entire thing set overnight for the best results.
Store your jelly, covered in the fridge for up to 5 days. Place any leftovers into an airtight container to store in the fridge.
Ingredients
Method
- Mix up the first jelly mixture, following the directions on the packet, except use 1 1/2 cup of boiling water instead of 2 cups.
- Pour the jelly mixture into a medium sized flat container. Store the jelly in the fridge to set fully.
- Repeat the process with the other jelly colour.
- Once both sets of jelly have fully set (about 3 hours) you can begin your white jelly.
- In a medium sized bowl, sprinkle the gelatin over the cold water. Let this sit for 2 minutes to allow the gelatin to bloom.
- Pour the boiling water over your prepared gelatin and whisk to combine.
- Add your sweetened condensed milk into the hot gelatin mixture whisking well to combine.
- Allow to cool for 15 minutes or until the jelly is only slightly warm
- Dice your set coloured jellies into rough cubes .
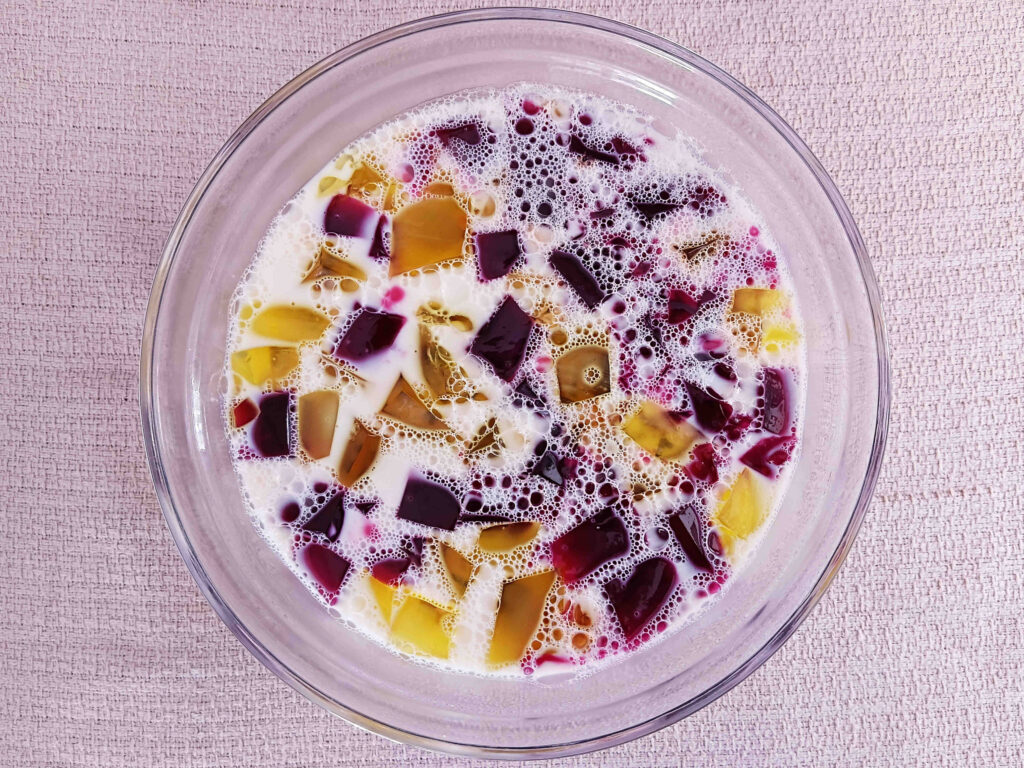
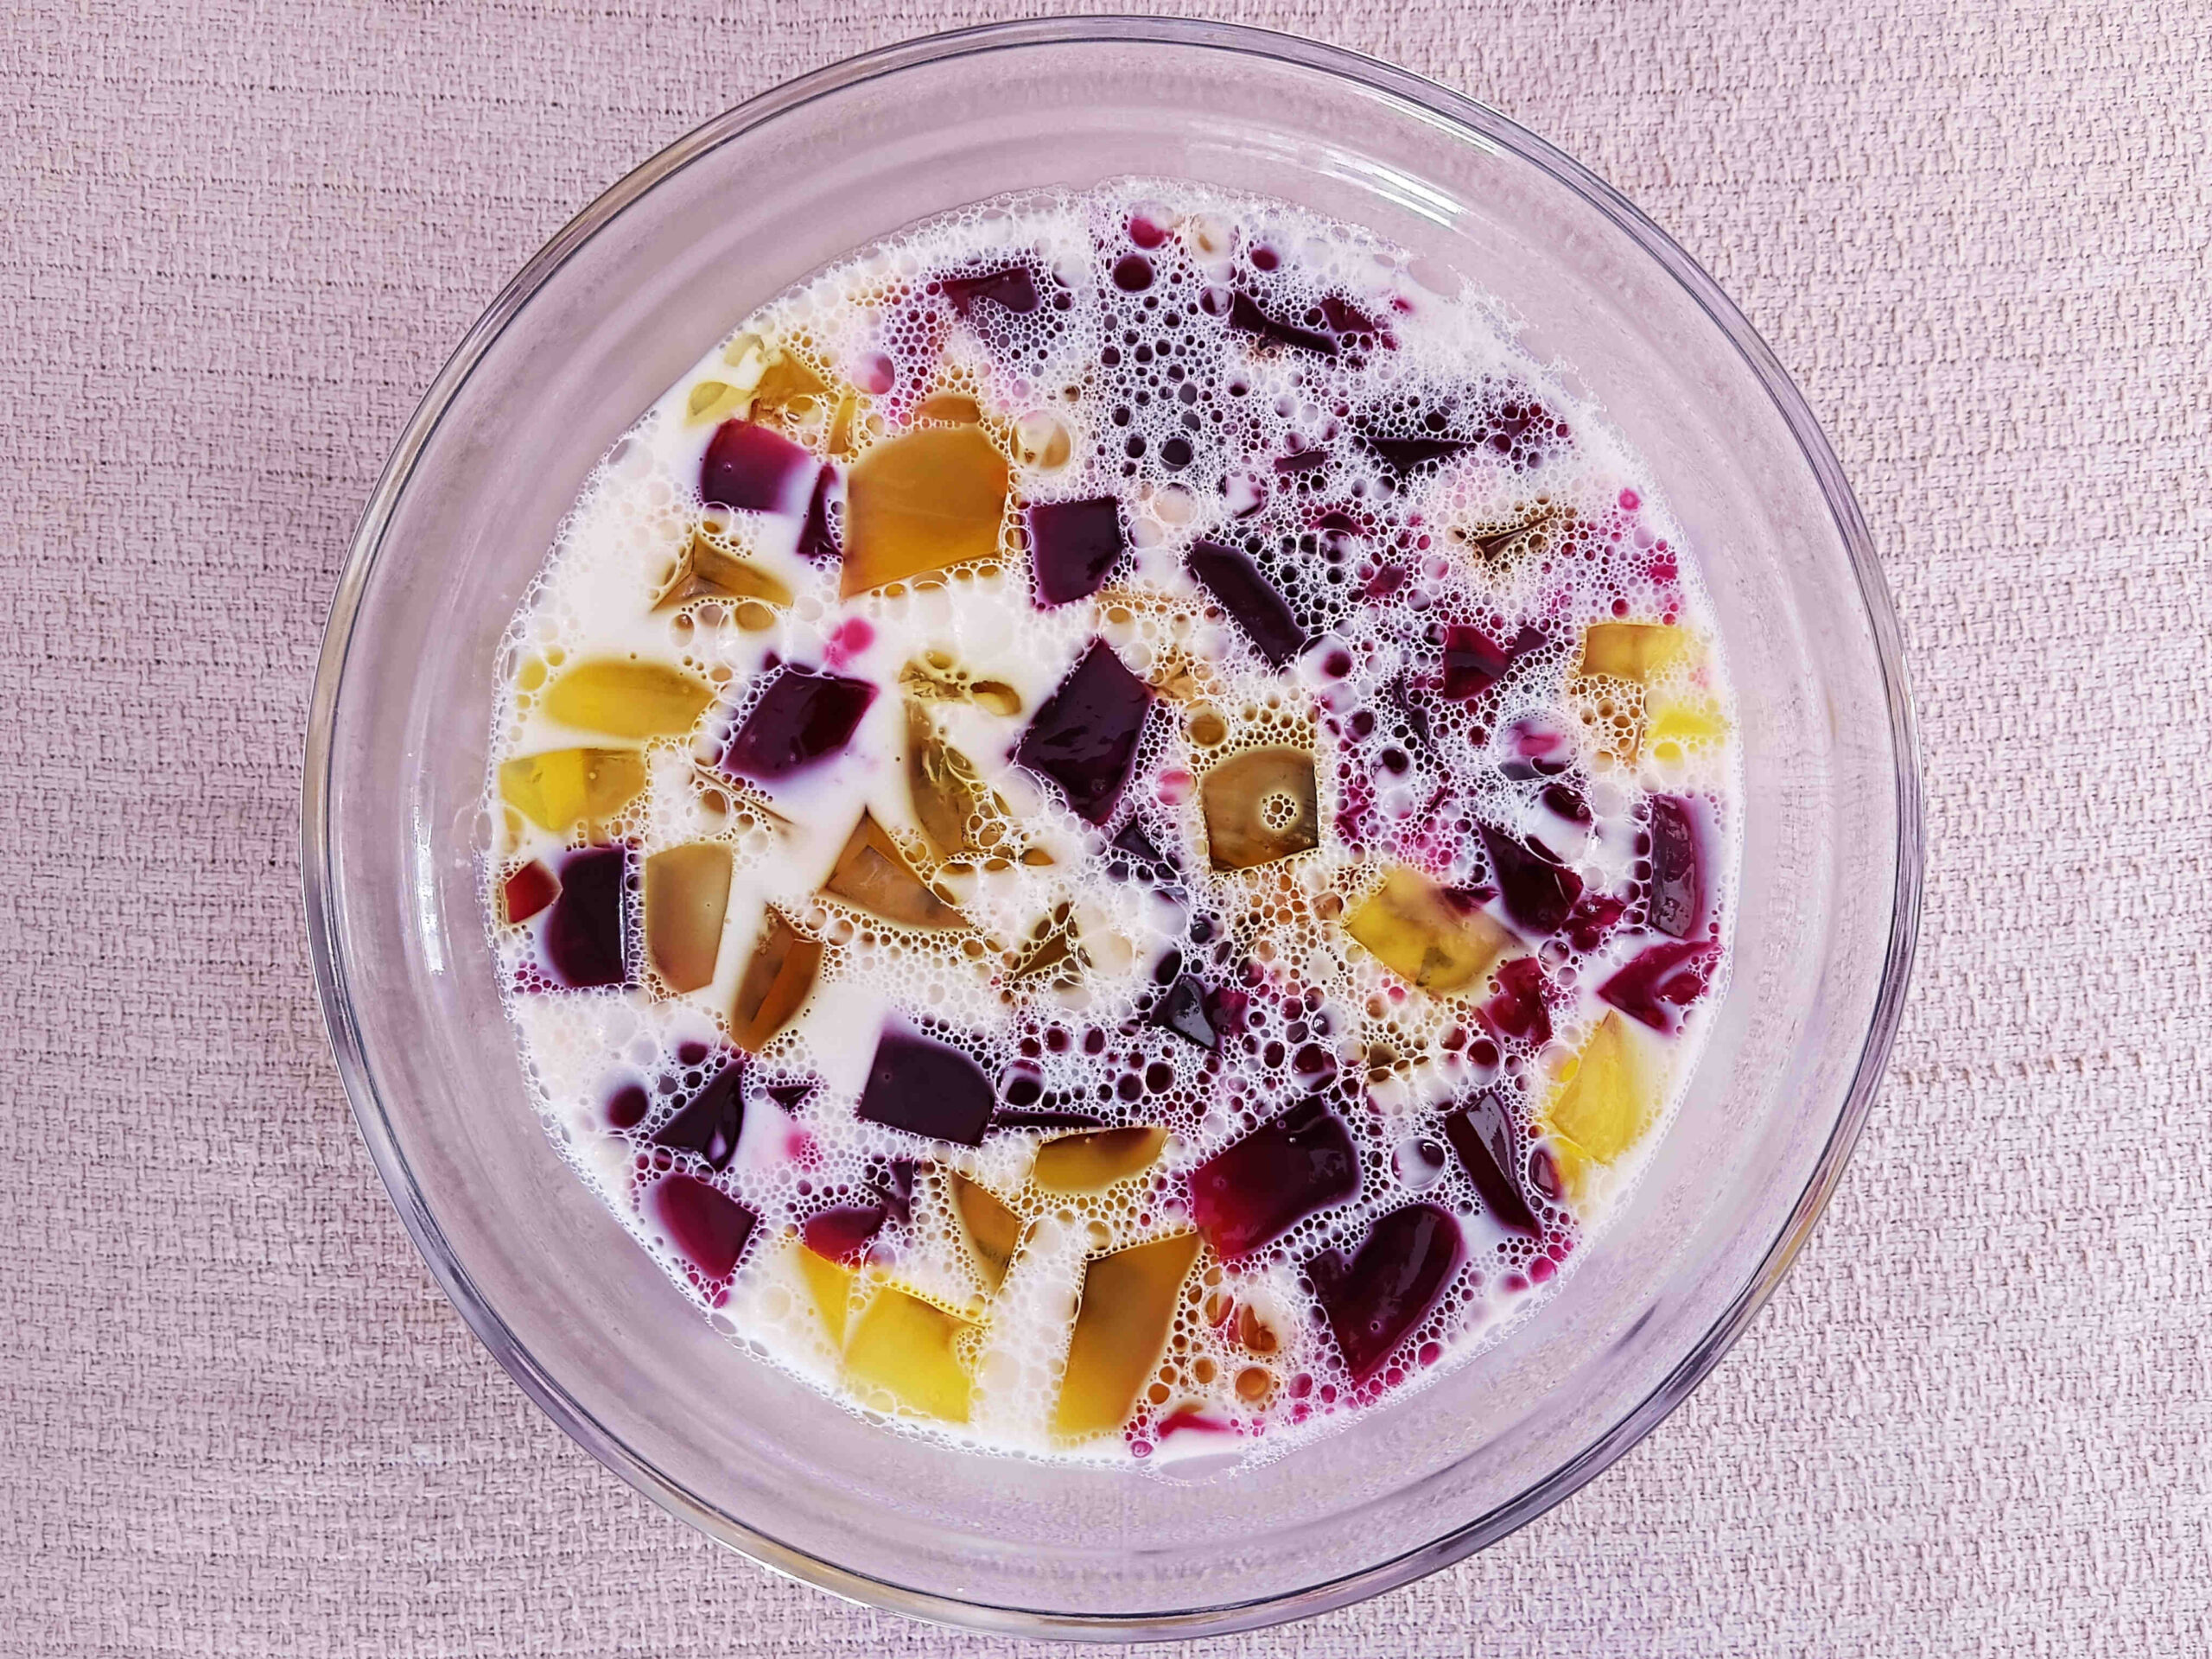
- Spoon the jellies into a large glass bowl (or any other container) that has at least a 6 cup capacity. Make sure that you are alternating between the 2 colours as you add the jelly cubes into your bowl.
- Gently pour the cooled white jelly mixture over the diced jellies. Do not mix at this point.
- Place the bowl back into the fridge and allow to set fully before serving.
Notes
Thank you so much for taking the time to read through my stained glass jelly recipe. I hope you enjoy trying this out for yourself. Please feel free to add any questions or comments below. I am happy to help out wherever possible and I would love to hear how this recipe worked out for you.
Crystal Rose