Lightly grease and line a square baking tin with baking paper. I have used one that is approx 22 x 22 cm.
In a large mixing bowl sprinkle the gelatin over 1/2 cup of the water. Mix together gently and set aside while you prepare the sugar.
Place the sugar and the remaining water into a small saucepan.
Heat the water and sugar on a medium heat, stirring constantly, until the sugar is fully dissolved.
Continue heating, allowing the pot to simmer and then stop stirring. Keep an eye on the hot liquid and use a candy thermometer to keep track of the temperature. Continue heating the sugar syrup until it reaches 118°C ( you can test for the soft ball stage if you do not have a candy thermometer). This will take about 5-10 minutes but can be slowed down by the sugar beginning to crystallize around the edge of the pot.
Take your prepared gelatin bowl and place it onto a folded tea towel to stop it from slipping. Set up an electric whisk ready to begin whisking. Pour the sugar syrup in a very thin stream into your bowl. Whisk constantly until all of the sugar syrup has been added. This stage should take about 3-5 minutes.
Add in the lemon essence and food coloring.
Continue whisking on a high speed for about 10 more minutes or until you have reached a thick and fluffy consistency.
Pour the marshmallow into your prepared baking tin. Place on a level surface and allow to set for about 5-6 hours. (you can leave it up to 1 day but I find that it starts to form a crust on top if it is left to long before being cut)
Mix together your icing sugar and cornflour in a small bowl and coat a large, sharp knife with a thin layer of oil
Cover the top of your marshmallow slab with sugar mixture and turn it out onto a clean, dry bench top topside down. Remove the baking pan and baking paper before coating the entire bottom of the marshmallow slab with the sugar mixture.
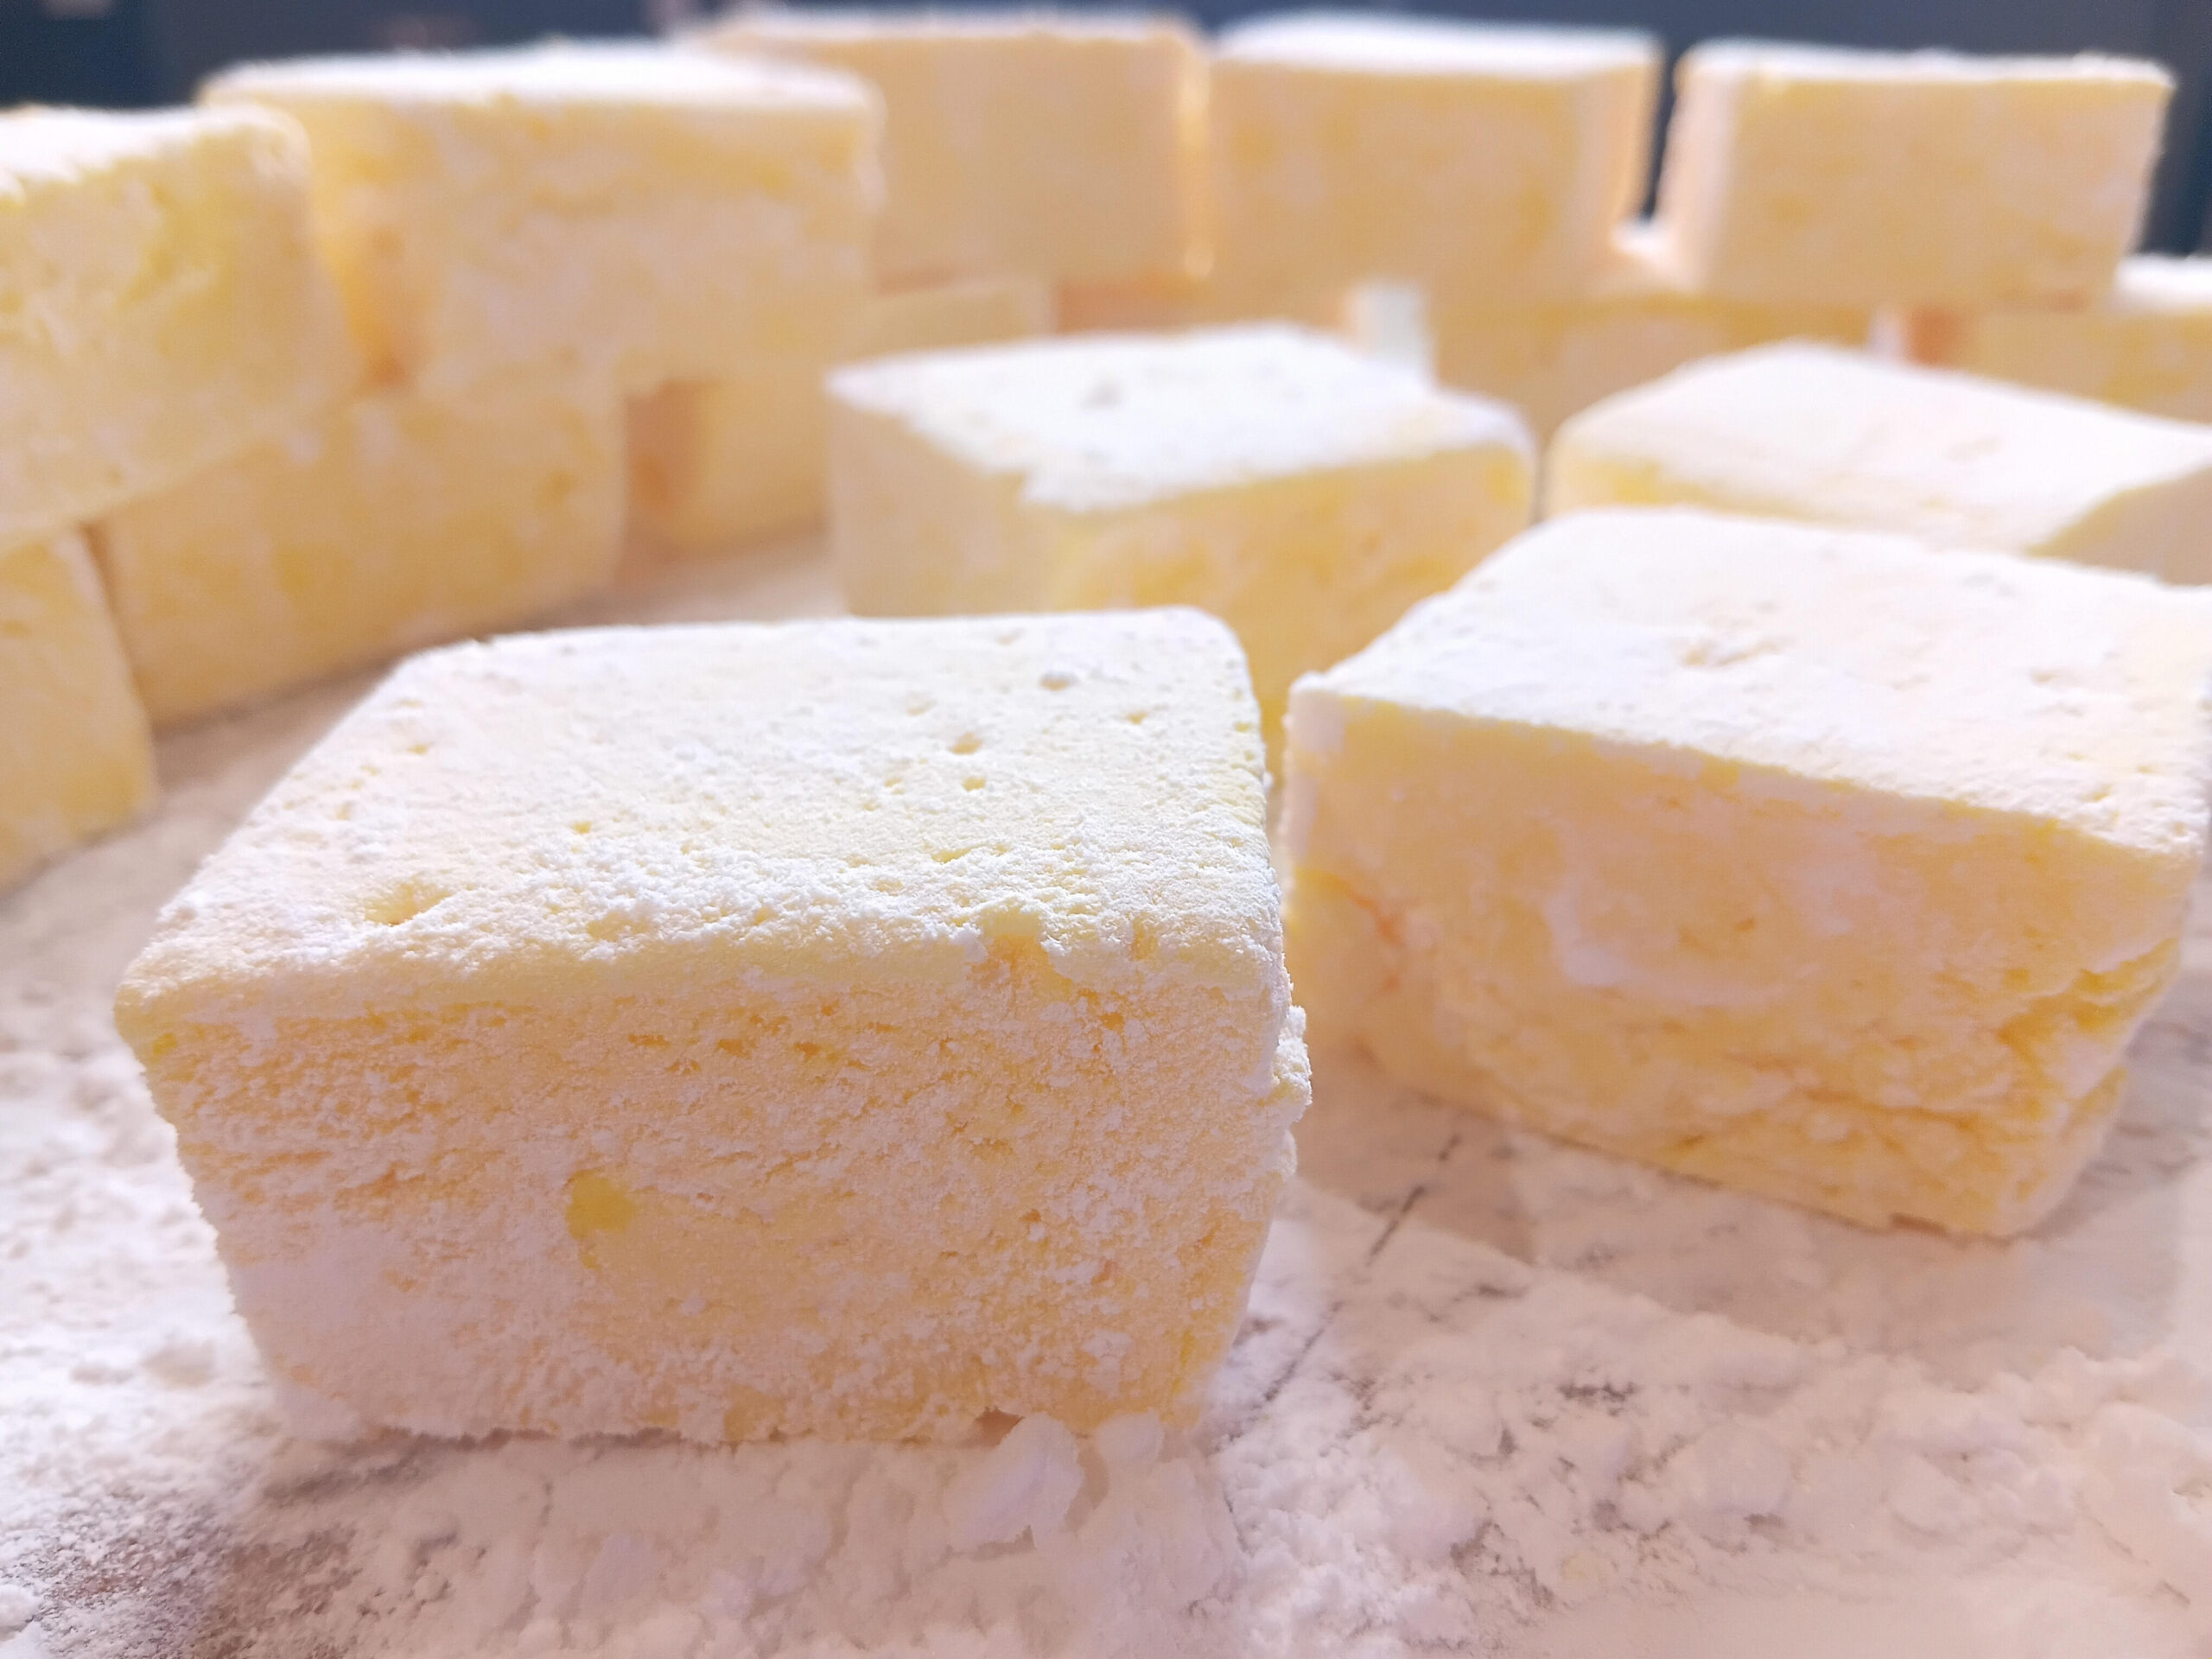
Cut into 16 large marshmallows (like the ones I have made here) or 25 if you prefer. With each cut you will need to clean and re oil your knife, this part is tedious but it is necessary to avoid sticking. Dip all of the cut marshmallow sides in the sugar mixture so that they are fully coated and are no longer sticky to the touch.
Store in an air tight container. Pour any remaining sugar mixture in to the container too. Store at room temperature for about 1 month (if they last that long).