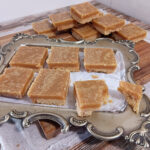
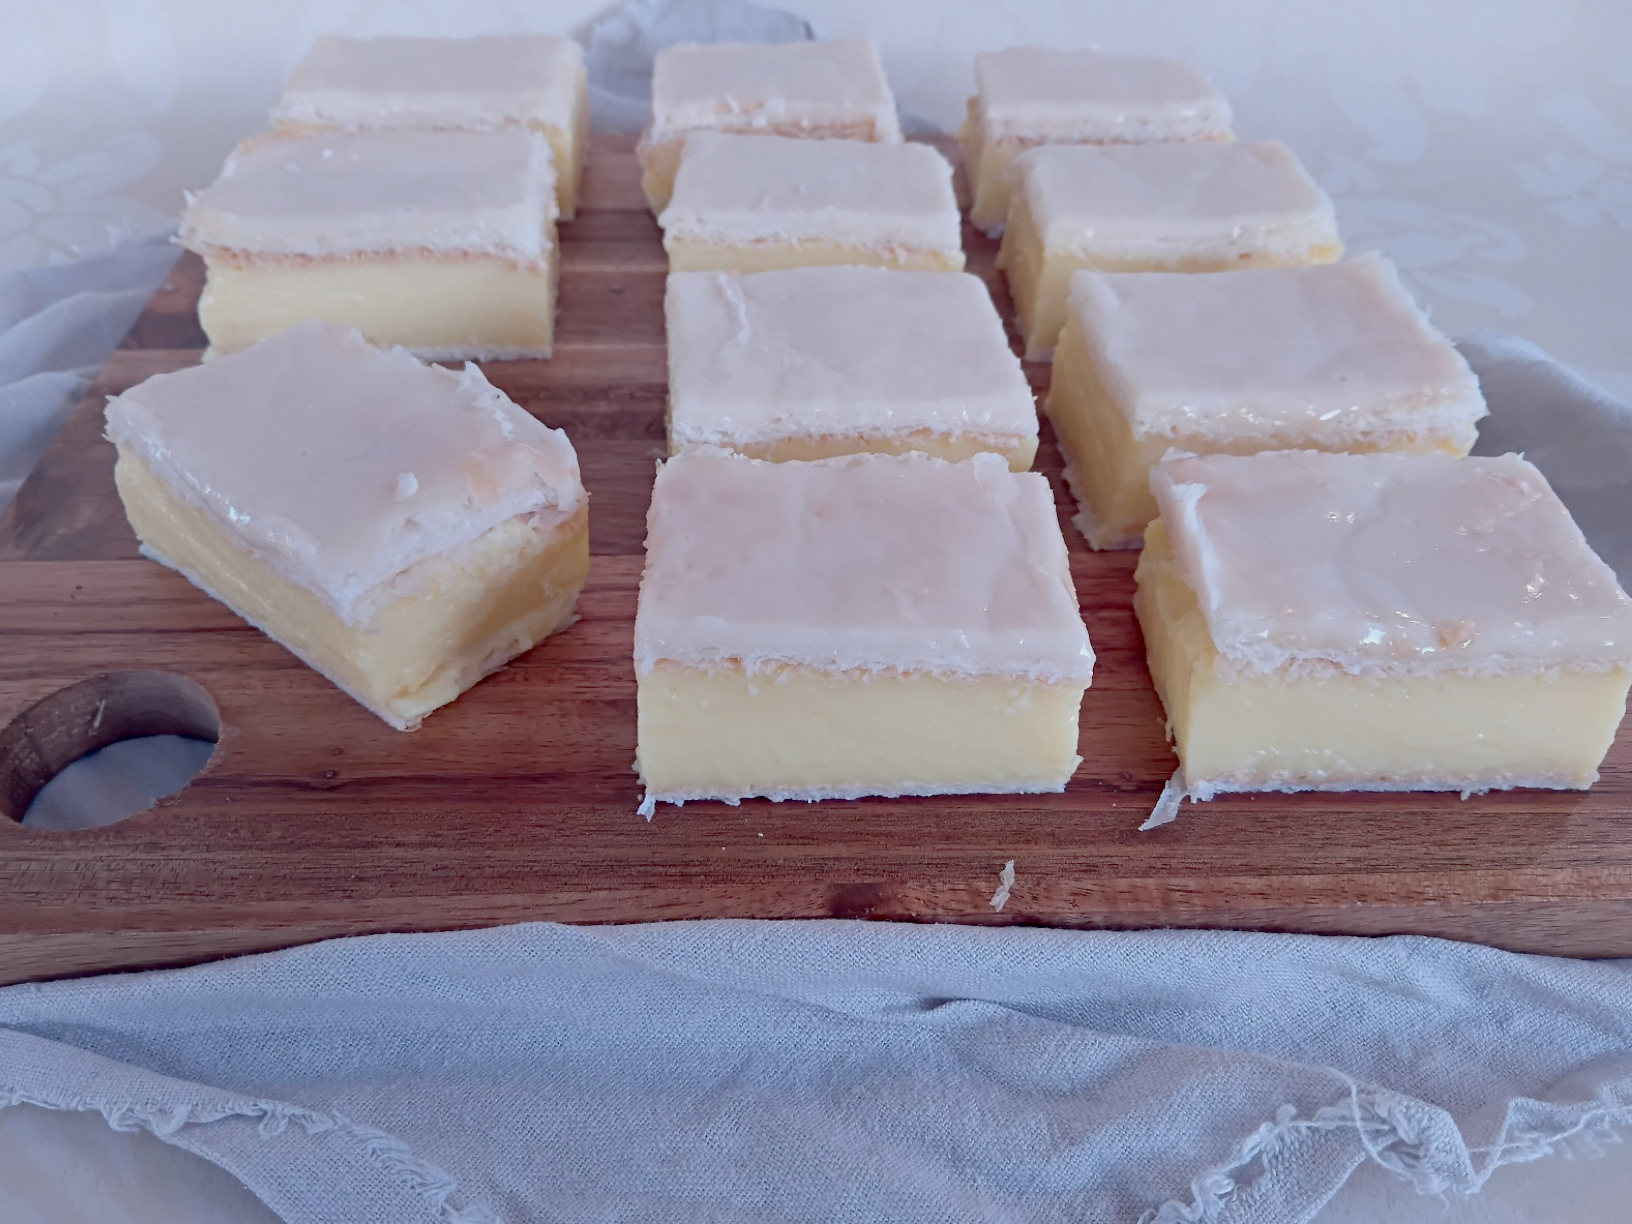
Custard Squares
Two layers of flaky puff pastry, filled with a thick layer of set custard, and then iced with a simple vanilla icing. Custard squares are a bakery classic that is actually really easy to make at home for yourself.

Whether you call them custard squares, custard slice or vanilla slice these are definitely a tasty treat. Custard squares are made with pastry, custard and icing layers and while that seems like a massive amount of work to make a simple slice, it doesn’t have to be! Use pre-rolled puff pastry, a custard made using just the right amount of custard powder and a simple vanilla icing. The hardest part will be the waiting to slice it up for afternoon tea.
What makes a custard slice
Pastry – Use a pre-rolled flaky puff pastry for your custard squares. Two sheets will be cooked and flattened to form the layers of your custard squares. You could make your own pastry if you wanted. Just make sure that it is rolled thin and cooked through.
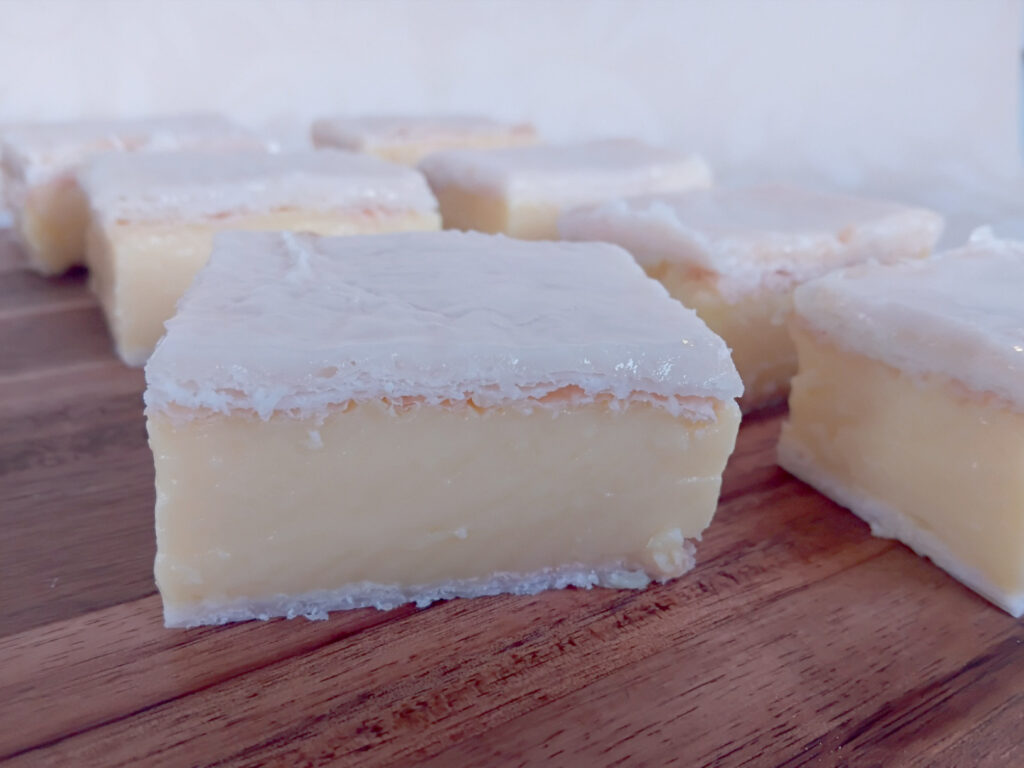
Custard Filling – A thick and creamy custard that is made using custard powder, milk and sugar. Once its set it will form the filling of your custard square. This will take a while to set so be sure to make your custard square well in advance. This custard has that classic custard slice taste. With just the right amount of custard powder to not need any eggs and it will not come out rubbery or tough.
Icing – A thin layer of vanilla icing on top. This adds sweetness and is the perfect finishing touch.
Custard making tips
Custard is one of those things that you can either make in your sleep or you struggle with. Lumps and knowing when the custard is done are some of the main issues.
Try some of these tips if you are having any problems!
- Make sure that your custard powder is fully mixed in before you add the remaining milk. And lumps of custard powder will very likely turn into lumps in your custard so make sure not to skip this step.
- Stir slowly and constantly. Do not whisk! Use circular and figure 8 motions while you stir. You will be able to feel when it starts to thicken through the spatulas movements.
- Heat your custard slowly on a low – medium heat. Don’t be tempted to turn up the temperature to speed things up as this will cause your custard powder to thicken unevenly and it may heat too quickly and develop a heavy burnt skin on the bottom of the pan.
- Achieving the right consistency. Custard squares use a very thick custard that holds its shape when cooled and sliced. For this you want your hot custard to be very thick. It is ready when it is about the thickness of yogurt. The spatula will leave deep ripples in the surface of the custard when you stir it.
- Strain out the lumps. If you end up with some lumps in your custard you can usually save it by sieving it through a fine mesh strainer. Sieve it directly into your prepared tin and you will have a rescued custard slice.
Once you have mastered custard making you can try these delicious custard recipes too.
Lemon Sour Cream Custard, Eggnog Custard Pudding
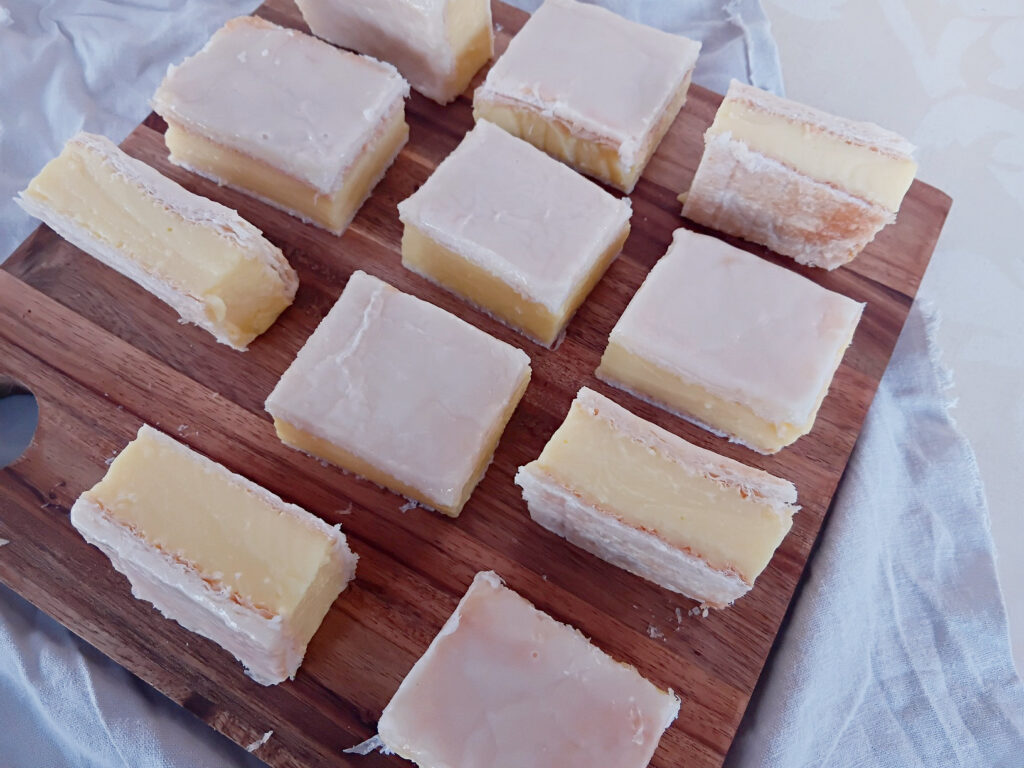
Cutting your custard squares
Once you have mastered the art of making a thick, non lumpy custard the only other tricky part of this recipe is cutting your custard square into slices. The custard naturally wants to squish out the sides and the pastry wants to move as a whole sheet.
Here is a slicing method that will make it easier to cut this slice.
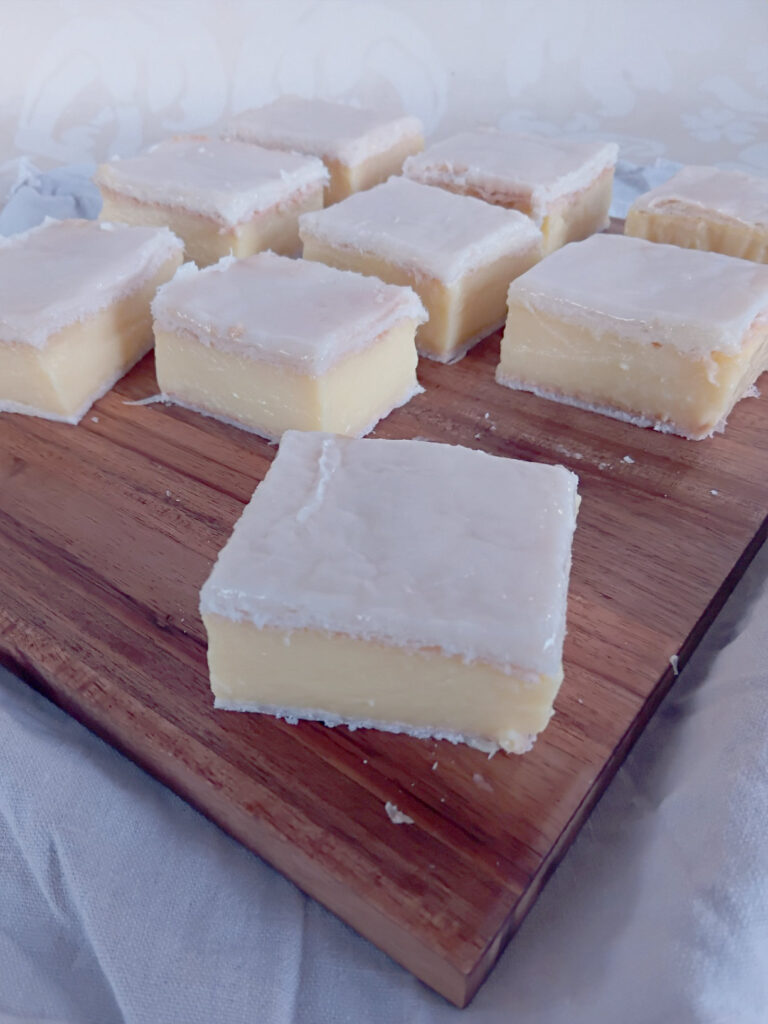
- Mark your cutting lines. 3 rows of 4 works great for these. Use your knife to make a slight mark in the surface of the icing.
- Use a serrated knife to cut through the 4 marked lengths of your slice. Hold your knife at a slight angle and make long slow sawing motions until you have cut through the first layer of pastry.
- Take a large smooth knife and slice down to cut through the custard and bottom layer of pastry. Repeat for the on the 2 cuts that you made previously.
- Separate the slices and then repeat the process to cut the slices into pieces.
Custard Squares
Ingredients
Method
- Preheat your oven to 180 degrees, fan bake and line 2 baking sheets with baking paper.
- Place the sheets of pastry onto the prepared baking trays, Then use a fork to make small indentations all over the surface.
- Bake for 15 minutes turning half way through. The pastry will be lightly golden on the surface cooked through.
- Remove the pastry from the oven and, While it is still warm, press flat it flat. You can use a sheet of baking paper and a clean tea towel or another baking sheet to do this.
- Line a square cake pan (the size of your pastry or slightly smaller) with baking paper. Make sure that there is enough excess paper to lift the slice out later.
- Use a large knife to trim the pastry to just fit inside of your lined cake pan. Set aside while you prepare your custard.
- Combine the custard powder and sugar in a large saucepan add 1/2 cup of the milk and mix well. Make sure that there are no lumps of custard powder remaining.
- Add in the remaining milk and mix well .
- Heat the mixture on a medium heat, stirring constantly until the mixture is fully thickened. Your custard should be a similar constancy to a thick yogurt. This should take about 5-10 minutes.
- Place one of the pastry pieces in your lined cake pan before pouring over the hot custard.
- Spread the custard out evenly and then place the other pastry layer on the top.
- Place your custard slice in the fridge to cool.
- To make the icing, combine the icing sugar, vanilla and a little bit of milk into a small bowl and mix well. The icing should be smooth and spreadable. Add more milk of icing sugar if necessary
- Spread the icing evenly over the top layer of pastry and return to the fridge to set fully.
- When the slice is fully set (at least 3 hours after pouring) you can remove it from the cake tin. Use the excess baking paper to carefully lift it from the pan. Use a serrated knife to slice the custard squares into 12 even pieces.
Notes
Thank you so much for taking the time to read through my custard squares recipe. I hope you enjoy trying this out for yourself. Please feel free to add any questions or comments below. I am happy to help out wherever possible and I would love to hear how this recipe worked out for you.